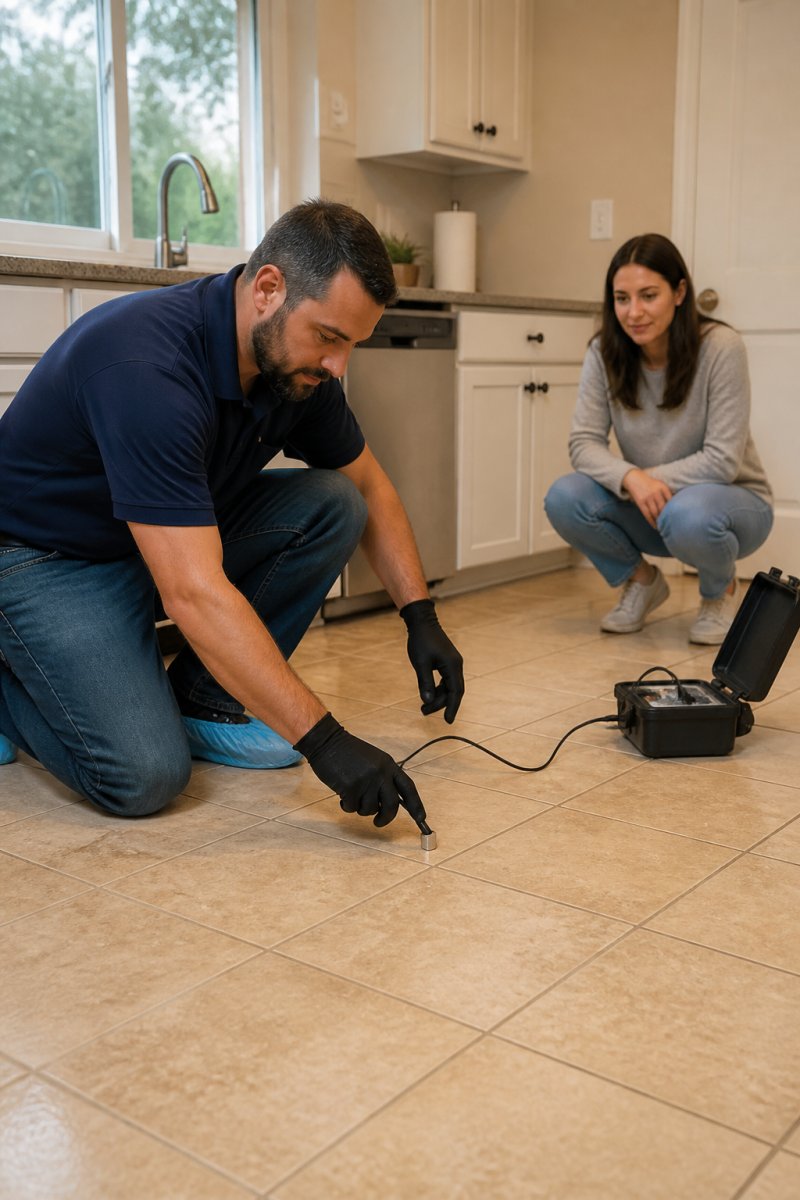
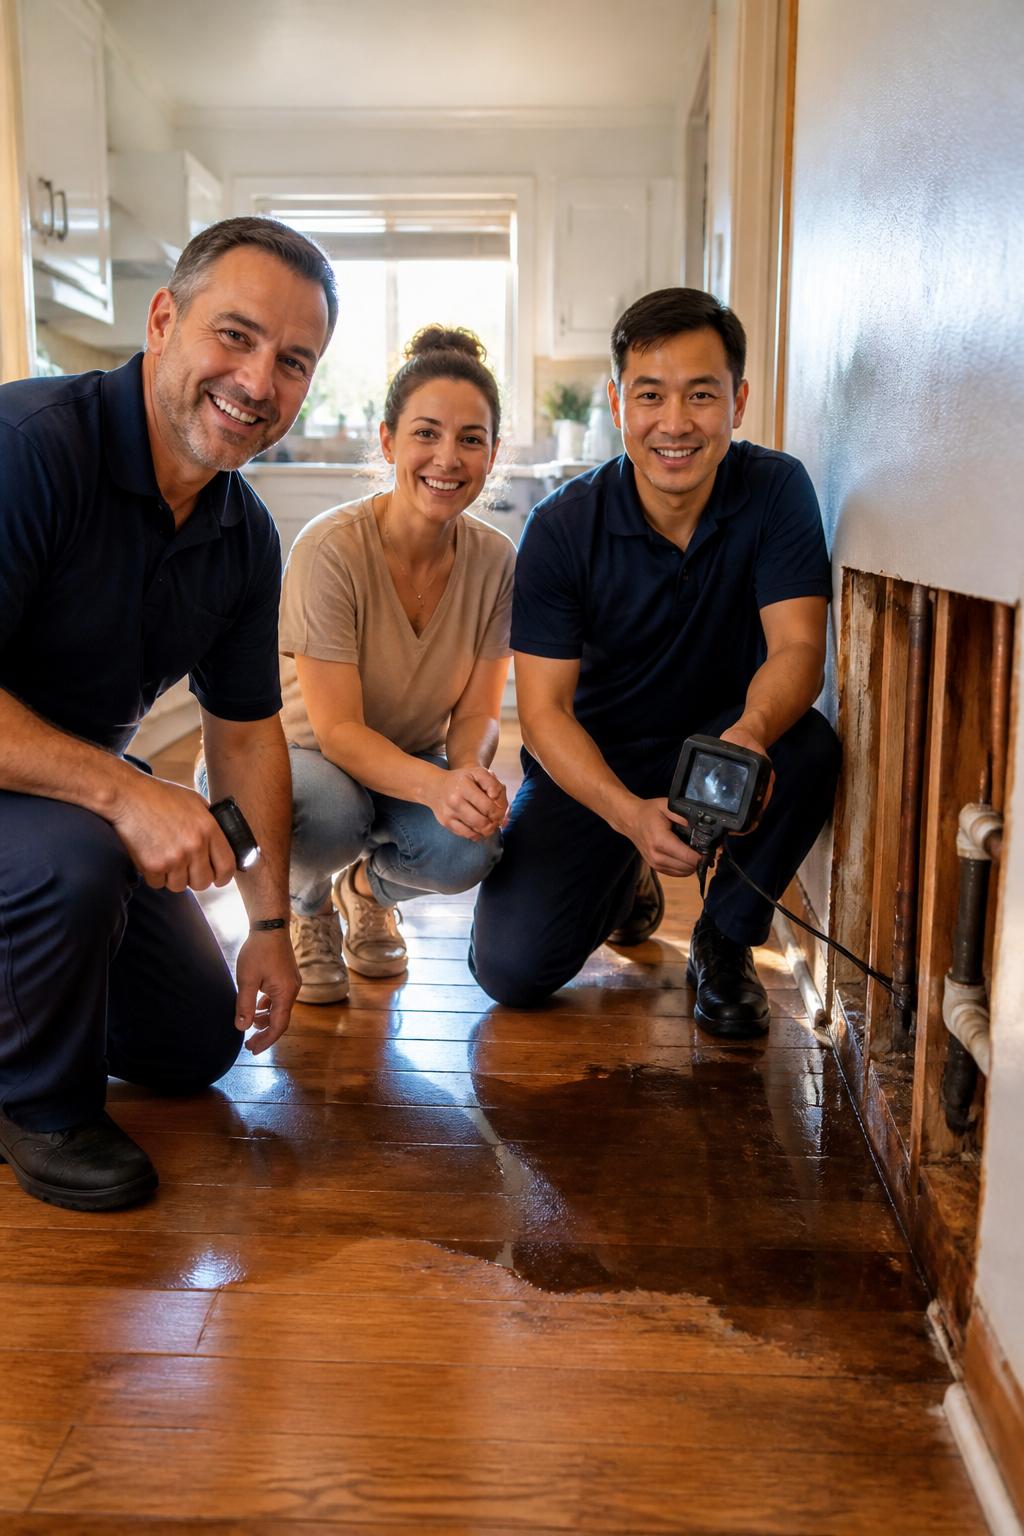
 blog
blog
7 Ways to Document Water Damage for Insurance Claims
Table of Contents
- Why Documentation Matters for Your Water Damage Claim
- Method 1: Take Strategic Photos for Water Damage Insurance Claims
- Method 2: Create a Video Walkthrough of Affected Areas
- Method 3: Record Water Damage Claim Documentation Examples
- Method 4: Build a Detailed Inventory of Damaged Items
- Method 5: Preserve Receipts and Proof of Ownership
- Method 6: Understand Your Water Damage Insurance Claim Timeline
- Method 7: Draft a Water Damage Claim Letter Template
- Frequently Asked Questions
Last Updated: October 7, 2026
Why Documentation Matters for Your Water Damage Claim
When water damage strikes, insurers need detailed, organized, visual proof, not your word. Learning 7 ways to document water damage for insurance claims is your strongest tool.
7 ways to document water damage for insurance claims is your strongest tool: without it, adjusters have little reason to approve your claim; with it, you have a clear record that protects your interests and speeds up the process.
The seven methods below are practical steps you can take immediately after discovering water damage, before cleanup begins.
Method 1: Take Strategic Photos for Water Damage Insurance Claims
Photography is the foundation of water damage documentation.
Start with wide-angle shots of each affected room to show the overall scope, then move to close-ups of wet drywall, discolored flooring, swollen baseboards, and stained ceilings.
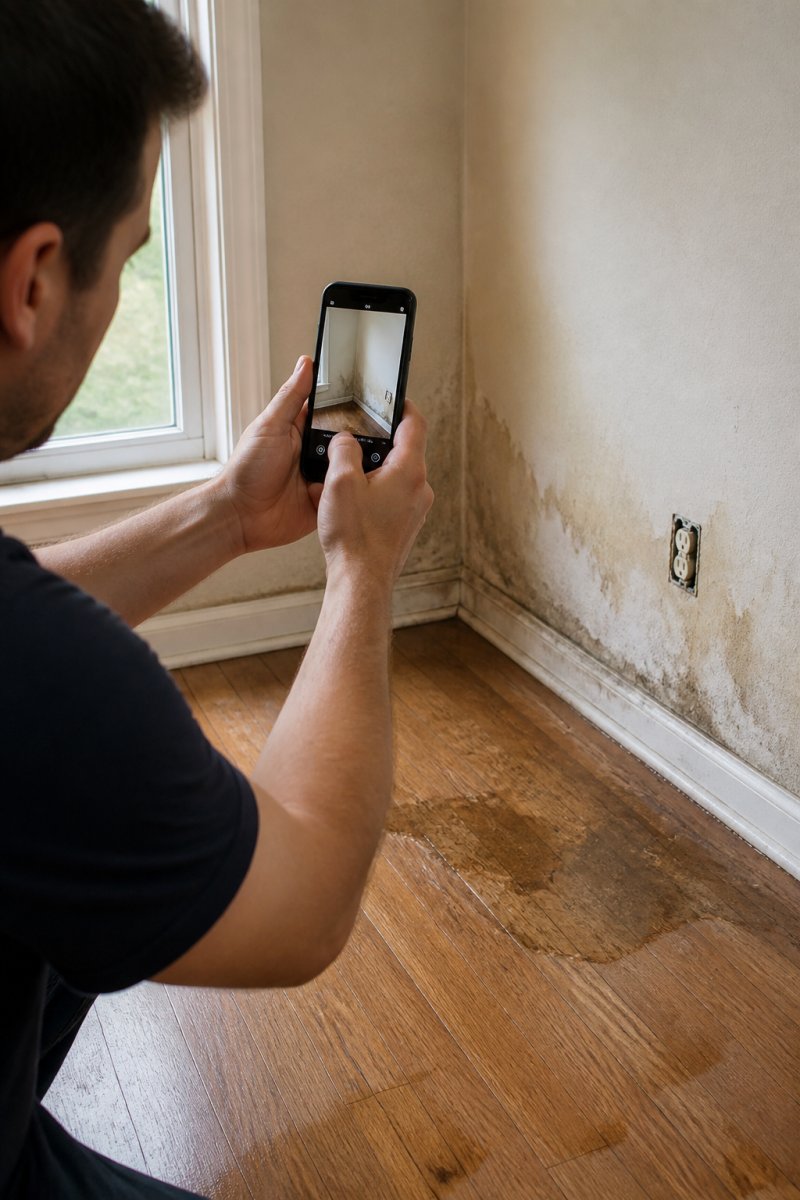
Shoot from multiple angles, eye level, above, and from the side, and include photos of:
- Water stains on walls and ceilings
- Damaged flooring and baseboards
- Wet furniture and personal belongings
Use natural lighting and avoid flash glare on wet surfaces. Smartphone timestamps are valuable evidence.
Method 2: Create a Video Walkthrough of Affected Areas
Video provides context still photos cannot, showing the relationship between damaged areas and the overall impact on your home. Start in an unaffected room to establish a baseline, then walk slowly through each damaged area, narrating what you see: "This is the master bedroom where water entered through the window. You can see the staining on the east wall and the wet carpet along the baseboards." Speak clearly and calmly, your voice becomes part of the evidence record, and state the date and time if your phone doesn't record it automatically.
Method 3: Record Water Damage Claim Documentation Examples
Written notes become part of your claim file, establishing a timeline and capturing details photos and video might miss.
Create a simple document, digital or handwritten, that records:
- Date and time you discovered the damage
- Cause of the water damage (burst pipe, roof leak, flooding, etc.)
- Initial steps you took to stop the water
Be specific. Instead of "water in the basement," write "Water entered the basement through the foundation crack in the southeast corner.
Update your notes as you discover more damage, including hidden damage found days later, with date and time.
Keep a single record, notebook, Word document, or notes app, and store photos and video in the same place so everything is together when you submit your claim.
Method 4: Build a Detailed Inventory of Damaged Items
Your insurer needs to know what was damaged and what it was worth. An itemized inventory is your proof of loss and the document adjusters lean on most when calculating settlement, a vague list invites a vague payout.
Go room by room, working from the ceiling down: ceiling, walls, flooring, then contents. List every damaged or destroyed item, including those you plan to throw away, once an item is in the trash, it's much harder to prove it existed and its condition.
Use a Repeatable Inventory Template
Build one row per item with consistent columns. A spreadsheet works best because you can sort, total, and attach photos by row number:
| # | Room | Item | Brand / Model | Age | Condition Before Loss | Condition After Loss | Replacement Cost | Actual Cash Value | Photo File | Receipt / Proof |
|---|---|---|---|---|---|---|---|---|---|---|
| 1 | Master bedroom | Carpet (approx. 180 sq ft) | Shaw, unknown style | 5 years | Good, no stains | Soaked, stained, delaminating | Research current installed price | Replacement cost minus depreciation | IMG_0142.jpg | Install invoice |
| 2 | Kitchen | Hardwood flooring (approx. 240 sq ft) | Oak, 3/4 in. solid | 8 years | Good, minor wear | Cupped, warped, water-stained | Research current installed price | Replacement cost minus depreciation | IMG_0151.jpg | Original install receipt |
| 3 | Living room | Sofa | , | 3 years | Good, no tears | Water-soaked cushions, stained frame | Research comparable new price | Replacement cost minus depreciation | IMG_0163.jpg | Credit card statement |
| 4 | Basement | Storage boxes (contents) | , | Various | Dry, intact | Soggy, contents unknown | Estimate per box | Estimate per box | IMG_0170.jpg | None |
Understand the Two Numbers Insurers Use
Most homeowner policies settle contents and many building items on one of two bases:
- Replacement cost value (RCV): what it costs to buy or rebuild the item today, new, at current retail or contractor pricing.
- Actual cash value (ACV): replacement cost minus depreciation for age and wear.
If your policy pays ACV up front, you may claim the difference later under a recoverable depreciation provision once you replace the item and submit the receipt. Ask your adjuster in writing whether your policy includes recoverable depreciation, and keep every replacement receipt until the claim closes.
How to Estimate Value Without Inventing Numbers
You don't need to be an appraiser, but you do need defensible figures:
- For electronics and appliances, note the model number from the label and look up the current price for the same or nearest equivalent model at a major retailer. Save the product page as a PDF.
- For furniture, find the closest current comparable and save the listing.
- For building materials, get at least one written contractor estimate for removal and replacement of the affected square footage.
Document Before You Discard
Photograph each damaged item in place, then again next to a ruler, coin, or sheet of paper for scale. For high-value items, photograph the model and serial number plate. If health or safety rules require quick disposal of water-soaked porous materials, photograph and log them first, then note the date and reason for removal in your inventory.
Method 5: Preserve Receipts and Proof of Ownership
Receipts prove what you owned and what you paid, the strongest evidence of value.
Gather receipts for appliances, furniture, electronics, flooring, and fixtures. They show original purchase price and date, establishing ownership and condition at purchase.
If you don't have original receipts, collect other proof of ownership:
- Credit card statements showing the purchase
- Bank statements or cancelled checks
- Warranty documents or product manuals
Store receipts and proof of ownership away from your home, a waterproof container, safe deposit box, or cloud storage.
For items without receipts, research current replacement costs at online retailers, home improvement stores, and furniture websites, and document what you found and why you chose those estimates.
Method 6: Understand Your Water Damage Insurance Claim Timeline
Insurance claims run on deadlines, and missing one can reduce or void your payment even when your documentation is flawless.
The Deadlines That Matter
Most homeowner policies set several separate clocks:
- Notice of loss: how soon you must tell your insurer about the damage. Many policies say "promptly" or within a stated number of days. Some policies use language like "as soon as practicable."
- Proof of loss: a formal, often sworn statement of the amount you are claiming, usually due within a set window after the insurer requests it, commonly 60 days, though the exact figure is in your policy.
- Suit limitation: the deadline to file a lawsuit if the claim is denied or underpaid. In many policies this is one year from the date of loss, but some states impose their own minimums or maximums by statute.
Where to Find Your Actual Numbers
Don't rely on a general article for your deadlines. Open your policy and find these three sections:
- Duties After Loss, this is where notice and proof-of-loss requirements live.
- Loss Settlement, this tells you whether contents and structures pay RCV or ACV and whether recoverable depreciation applies.
- Legal Action Against Us, this is the suit limitation clause.
If your policy is a HO-3, HO-5, or similar form, the wording is standardized but the filled-in numbers are not. Write the dates on a single sheet and keep it with your claim folder.
Build a Claim Calendar
Once you have the policy numbers, work backward from today:
- Date of discovery: __________
- Notice of loss sent: __________ (keep the confirmation number and the name of the representative you spoke with)
- Adjuster inspection scheduled: __________
Set calendar reminders at least two weeks before each date. If you can't meet a deadline, ask your adjuster in writing for an extension before the date passes, not after.
What Happens After You File
After you notify your insurer, they assign an adjuster who typically contacts you within a few business days to schedule an inspection.
If the offer looks low, you can generally request a re-inspection, submit a written rebuttal with your inventory and contractor estimates, or invoke your policy's appraisal clause if the dispute is about the amount of loss rather than coverage.
Documentation Versus Coverage
Keep these separate: documentation proves what was damaged and what it was worth, while coverage determines whether the policy pays at all. A perfect photo set won't create coverage for an excluded cause, and a covered cause with poor documentation will still be underpaid. Read your exclusions and endorsements alongside your documentation, and if a cause is unclear, ask your adjuster to confirm coverage in writing before investing hours in a proof of loss.
Sample HO-3 homeowners policy form showing Duties After Loss and Legal Action sections
Method 7: Draft a Water Damage Claim Letter Template
Here's a template you can adapt:
[Your Name]
[Your Address]
[Your Phone Number]
[Your Email]
[Date]
[Insurance Company Name]
Claims Department
[Insurance Company Address]
RE: Water Damage Claim, Policy #[Your Policy Number]
Dear Claims Manager,
Date of Loss: [Date you discovered damage]
Cause of Loss: [Describe what caused the water damage]
Affected Areas: [List rooms and areas with damage]
Damage Summary: On [date], water entered my home through [location/cause]. The damage affected [describe scope].
Documentation Enclosed:
- Photographs of affected areas (attached)
- Video walkthrough of damage (attached)
- Itemized inventory of damaged property (attached)
Estimated Loss Value: [Your estimate based on inventory]
I have documented all visible damage and preserved evidence for your adjuster's inspection.
I appreciate your prompt attention to this claim and look forward to working with you to resolve this matter.
Sincerely,
[Your Signature]
[Your Printed Name]
Keep your letter professional and factual. Avoid emotional language or accusations. Let your documentation speak for itself.
Water damage documentation protects your interests and speeds up the insurance claim process. California Leak Detection Specialists provides clear reports, photos, and repair information for claims, helping homeowners establish professional documentation that supports their claim.
Frequently Asked Questions
What should you document before starting water damage cleanup?
Document everything before cleanup begins: photograph all visible damage from multiple angles, record the incident date and cause, create a video walkthrough, list all damaged items with descriptions, and note affected areas room by room. Take photos of standing water, damaged flooring, walls, and ceiling. Preserve receipts and proof of ownership for damaged belongings. This pre-cleanup documentation is critical because once cleanup starts, evidence disappears and your insurance company may question the extent of damage.
How soon should you report water damage to your insurance company?
Contact your insurance agent or claims department immediately after discovering water damage. Most homeowner policies require prompt notification, often within 30 days of the loss. Reporting quickly protects your claim and shows good faith to your insurer. Document the incident date and cause, then provide your initial report. Your insurance company will assign a claims adjuster who may request additional evidence, so having your photos and inventory ready speeds the process and strengthens your position.
What types of water damage may not be covered by homeowners insurance?
Standard homeowner policies typically do not cover flood damage (requires separate flood insurance), damage from lack of maintenance, or water that backs up from sewers or drains. Damage from gradual leaks that could have been prevented may also be denied. However, sudden and accidental water damage from burst pipes, appliance failures, or roof leaks is usually covered. Review your specific policy language and discuss coverage limits with your agent before filing your claim.
How can you organize receipts and repair records for a water damage claim?
Create a dedicated folder (digital or physical) labeled with the incident date and claim number. Sort receipts by category: damaged property, emergency repairs, mitigation costs, and professional assessments. Keep repair estimates separate from actual repair invoices. Include photos attached to each receipt showing the damaged item or area. Use a spreadsheet to list each receipt with date, vendor, amount, and what it covers. This organized approach helps your claims adjuster verify costs and speeds claim approval. Back up digital copies to cloud storage in case originals are lost.