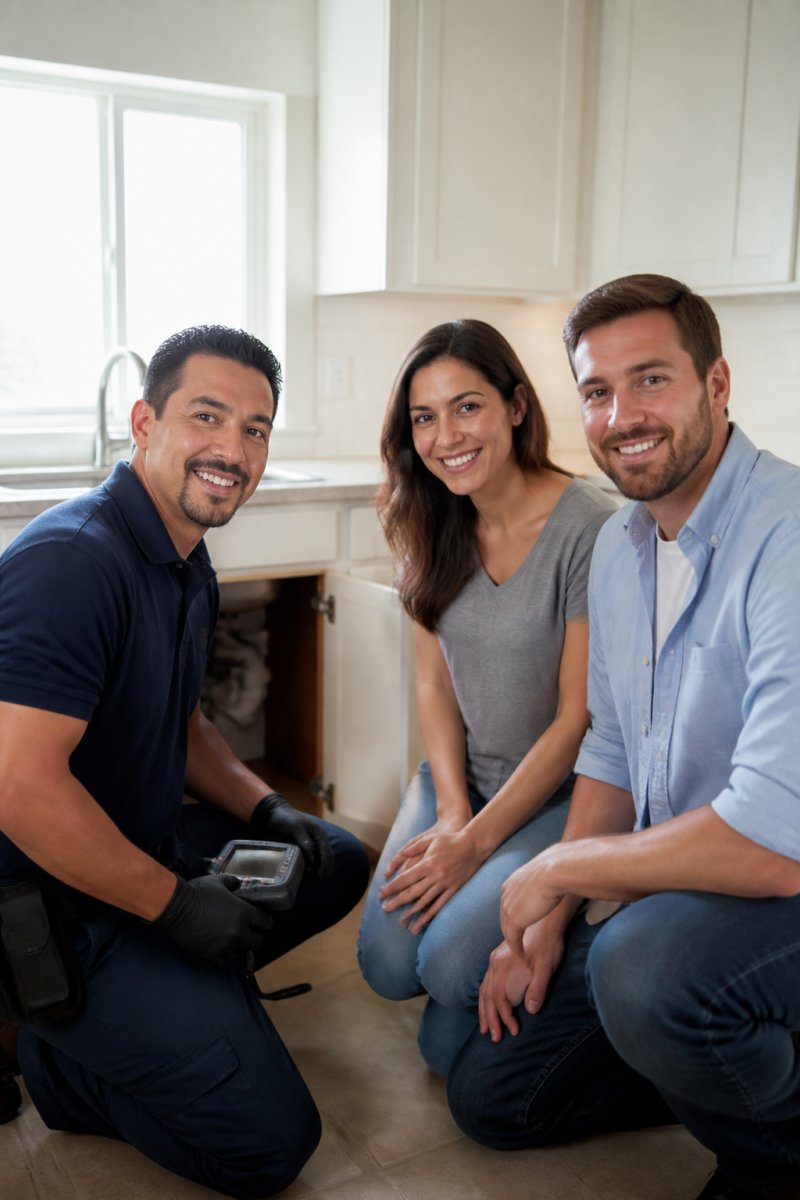
 how-to
Streamline Your Insurance Claim Process: Documenting Non-Invasive Inspection
Table of Contents
- Why Non-Invasive Inspection Is the Backbone of a Smooth Insurance Claim
- How to Document Water Damage for Insurance: A Step-by-Step Guide
- Hiring Professional Leak Detection for Insurance Claims: What to Look For
- Insurance Claim Denial Reasons for Plumbing (And How Documentation Prevents Them)
- What Belongs in a Professional Leak Detection Report
- Pros and Cons of Different Documentation Methods
- How Professional Documentation Simplifies the Insurance Claim Process
- Frequently Asked Questions
Last Updated: September 25, 2026
Why Non-Invasive Inspection Is the Backbone of a Smooth Insurance Claim
A non-invasive inspection is a leak detection method that finds hidden water leaks without tearing into floors, walls, or foundations. It uses tools like thermal imaging cameras, acoustic listening devices, and sewer cameras to locate the problem from the surface.
What Counts as Non-Invasive in Residential Leak Detection
Non-invasive means no destructive digging to find the leak. Common methods include:
- Thermal imaging to spot temperature changes from moisture
- Acoustic detection to hear water escaping under a slab
- Sewer camera inspection to check drain lines from the inside
- Moisture meters to map how far water has spread
- Pressure testing to confirm which line is failing
Insurance Information Institute guide to homeowners claims
How to Document Water Damage for Insurance: A Step-by-Step Guide
Learning how to document water damage for insurance comes down to three things: prove the source, measure the damage, and present it in a report your adjuster can follow. Here's the exact sequence we use.
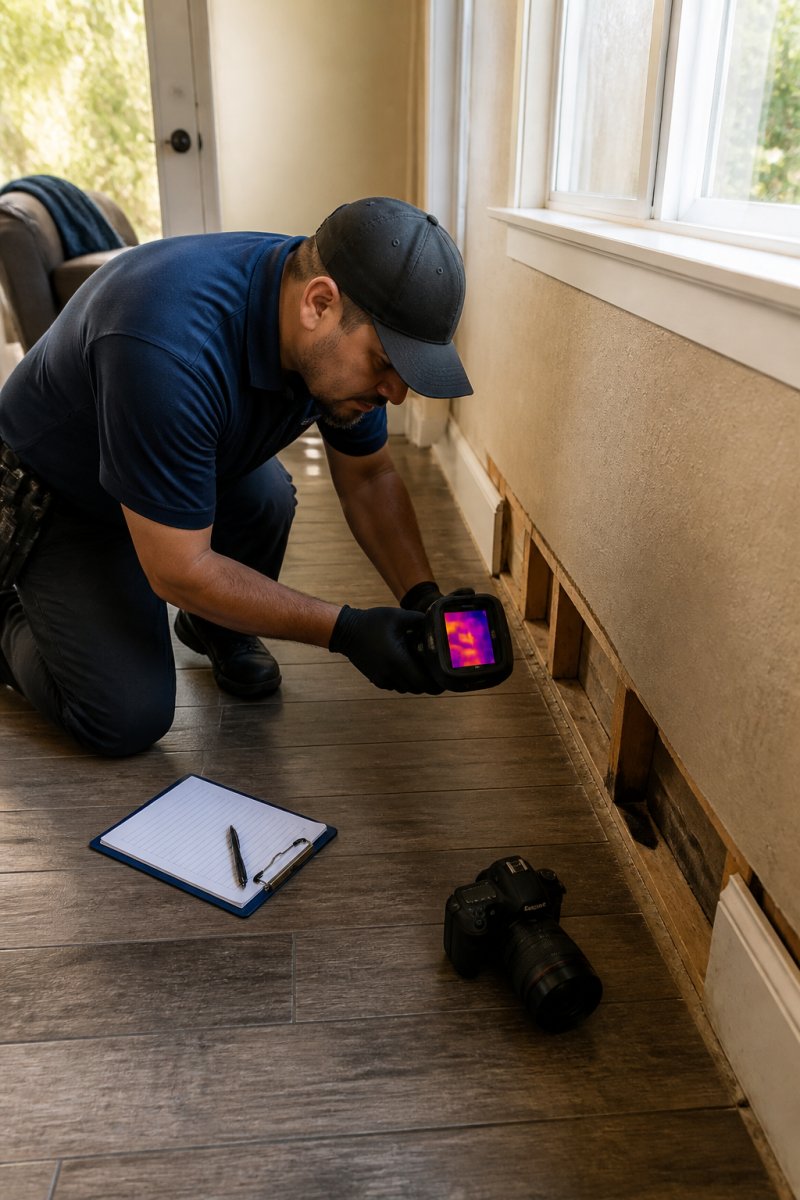
Step 1: Capture the Source with Thermal Imaging and Camera Evidence
Start at the source. Your technician scans the floor or wall with a thermal camera and photographs the hot or cold spots that reveal moisture. Take wide shots for context and close-ups for detail. Label each photo with the date, room, and what it shows.
Step 2: Build a Measurement Report and Standardized Photo Set
Next, measure the affected area. Record square footage of wet flooring, moisture readings at each point, and how far the damage spreads. A measurement report turns guesswork into numbers your adjuster can price out.
Step 3: Assemble the Professional Leak Detection Report
Finally, combine everything into one document: findings, photos, measurements, and the recommended repair. This report becomes the backbone of your claim. Hand your adjuster a complete package and you remove every reason for delay.
Hiring Professional Leak Detection for Insurance Claims: What to Look For
Hiring professional leak detection for insurance claims means choosing a provider who documents as carefully as they diagnose. Ask these questions before you book:
- Are you licensed, bonded, and insured?
- Will I receive a written report with photos and measurements?
- Do you separate detection from repair, so I can shop around?
- How long does the inspection take?
- Do you handle slab leaks and sewer line issues?
Insurance Claim Denial Reasons for Plumbing (And How Documentation Prevents Them)
Most insurance claim denial reasons for plumbing trace back to missing proof, not to the damage itself. The usual culprits:
- No evidence of the leak's exact location
- Damage described but not measured
- No proof the leak was sudden rather than a long-term neglect issue
- Inconsistent or undated photos
- No professional assessment tying cause to damage
National Association of Insurance Commissioners consumer resources
What Belongs in a Professional Leak Detection Report
What actually moves a claim is a report built to the same structure an adjuster already uses to evaluate a loss. Below is a standardized template for residential leak inspection reports, with the specific fields that make each section defensible.
| Report Section | Required Fields | Why the Adjuster Cares |
|---|---|---|
| Claim identifiers | Policy number, date of loss, property address, claim number (if assigned) | Ties the report to the correct file on first scan |
| Source findings | Leak location (room and assembly), detection method used, instrument reading at source | Proves the cause is a sudden, accidental discharge rather than long-term seepage |
| Photo set | Wide shot, mid shot, close-up for each affected area; date stamp; room label; scale reference | Lets the adjuster verify damage without a second site visit |
| Measurement report | Square footage of affected flooring, moisture content readings (%), spread map | Converts damage into numbers the adjuster can price |
| Technical assessment | Probable cause, contributing factors, recommended repair scope | Supports the coverage decision and the repair estimate |
| Audit trail | Technician name, license or certification number, inspection date, instrument calibration date | Establishes the report was produced by a qualified professional |
| Limitations and exclusions | Areas not inspected, inaccessible zones, assumptions made | Protects both parties if the adjuster later disputes scope |
A Field-Level Checklist You Can Hand to Any Inspector
Before you accept a report, confirm it contains all of the following. If any item is missing, ask for a revised version before you file.
- Policy number and date of loss on the cover page
- At least one wide, one mid, and one close-up photo per affected area
- Every photo date-stamped and labeled with the room name
- Moisture readings recorded as percentages, not adjectives
- Square footage of affected flooring stated numerically
- Detection instrument named (thermal camera, acoustic listener, sewer camera, moisture meter)
- Technician name and license or certification number
- Instrument calibration date within the manufacturer's recommended interval
- Probable cause stated in one sentence
- Recommended repair scope separated from the detection findings
- Limitations section listing any area not inspected
Why Separating Detection From Repair Matters
A common pattern in denied or delayed claims is a report that blends the leak detection findings with a contractor's repair bid. When those are combined, the adjuster cannot tell which numbers came from the inspection and which came from the repair estimate. Keep them as two documents. The detection report proves the cause and the extent.
Pros and Cons of Different Documentation Methods
Not every documentation method carries the same weight with an adjuster. The difference is not just quality, it is whether the evidence answers the specific questions an adjuster is trained to ask. Here is an honest comparison across the four methods homeowners actually use.
DIY Photos and Notes
Pros: Free, immediate, you control the timeline, and you can start capturing evidence the moment you notice the problem.
Contractor Estimate Alone
Pros: Gives you a repair figure you can compare against other bids.
Home Inspector Report
Pros: A general home inspector can note visible moisture, staining, or deterioration during a standard inspection.
Best for: General property condition documentation, not leak-specific claims.
Professional Leak Detection Report
Pros: Source proof, instrument readings, measurements, dated and labeled photos, a technical assessment, and an audit trail in one package. This is the only method that answers all of the adjuster's core questions in a single document.
How to Choose
The decision comes down to one question: can the adjuster verify the cause from what you are submitting? If the answer is no, the method is not sufficient for the claim, regardless of how much it cost or how quickly you gathered it. DIY photos are a starting point. A professional report is the finish line.
A Note on Cost Versus Claim Outcome
A professional leak detection report costs more upfront than a phone camera. The trade-off is that it tends to pay for itself in a smoother claim. A claim that is approved on first review avoids the weeks of back-and-forth that a thin file invites. For most homeowners, the question is not whether the report is worth the cost, it is whether the claim can survive without it.
How Professional Documentation Simplifies the Insurance Claim Process
Professional documentation simplifies the insurance claim process by giving your adjuster everything needed to approve the claim on the first review. No back-and-forth. No missing evidence. Just a complete file.
Faster Claim Validation and Payout Processing
When your report proves the source, measures the damage, and recommends the repair, claim validation moves quickly. Adjusters approve what they can verify. A clean file shortens claim cycle time and gets payout processing started sooner.
Evidence-Based Claims and Reduced Fraud Risk
Complete documentation also cuts fraud detection friction. A claim backed by thermal images, a measurement report, and a licensed technician's assessment reads as legitimate from the first page. That trust speeds everything up.
FEMA guidance on documenting disaster damage for claims
Frequently Asked Questions
What's the biggest mistake homeowners make when filing a plumbing insurance claim?
The most common mistake is filing before gathering professional documentation. Insurers need evidence linking the damage to a specific, covered cause. Without a measurement report, thermal imaging, or a written leak detection report, adjusters often treat the claim as speculative. Homeowners who secure a licensed leak detection report first typically face fewer follow-up requests and faster claim validation.
How does non-invasive leak detection help with insurance claims?
Non-invasive inspection pinpoints the leak source without tearing up flooring or walls. That means you get high-resolution documentation, thermal imaging, and camera evidence showing exactly where water is escaping and how far damage extends. Insurers receive evidence-based claims rather than estimates, which supports faster data-derived approval and reduces the back-and-forth that delays payout processing.
What documentation is required for a successful water damage insurance claim?
Most insurers want a professional leak detection report, a measurement report showing affected areas, timestamped photos, thermal imaging or camera footage, and a written summary connecting the leak to the damage. A standardized reporting format helps adjusters process the claim without requesting additional information. Include your policy number and date of loss with the submission.
Why is professional documentation critical for insurance claim approval?
Claims without clear documentation are the easiest to deny. A professional report creates an audit trail: it shows the leak existed, identifies the cause, and quantifies damage. That supports claim validation and reduces suspicion of fraud. Insurers rely on inspection precision and standardized reporting to approve claims confidently, so thorough documentation directly affects your outcome.
Hidden leaks never announce themselves, and insurers don't pay for what they can't see. California Leak Detection Specialists finds the source with thermal imaging, acoustic detection, and sewer cameras, then hands you a clear report built for your claim. Our licensed, bonded, and insured team provides photos, measurements, and repair information your adjuster can act on. Call (951) 278-8999 to schedule your residential leak inspection and start your claim with proof in hand.