 How-to
5 Non-Invasive Slab Leak Detection Methods Explained
Last Updated: November 12, 2026
Quick Summary
Slab leak detection uses non-invasive methods to find a hidden water leak under a home's concrete foundation without breaking open the floor first. Common approaches include water meter leak tests, pressure testing, acoustic listening, and thermal imaging, often combined for confirmation.
- Confirm a leak exists first by watching the water meter with every fixture off.
- Pressure testing isolates which section of the water line is losing water.
- Acoustic listening picks up the sound of pressurized water escaping under concrete.
- Thermal imaging works best on hot water lines and is weak on cold water leaks.
- No concrete should be cut until at least two independent methods point to the same spot.
Table of Contents
- What a Slab Leak Is and Why Non-Invasive Detection Matters
- Slab Leak Signs Homeowners Should Watch For
- Acoustic Leak Detection: Listening for Water Under Concrete
- Thermal Imaging Leak Detection and Its Limits
- Water Meter Leak Test and Pressure Testing
- A Step-by-Step Diagnostic Workflow and How Results Are Confirmed
- Booking Your Residential Slab Leak Inspection in Corona
- Frequently Asked Questions
What a Slab Leak Is and Why Non-Invasive Detection Matters
A slab leak is a water leak in a supply pipe that runs beneath a home's concrete foundation. Because the pipe sits under the slab, you often cannot see the leak, and it can run for weeks before anyone notices. Slab leak detection methods let technicians find that leak without breaking open the floor first.
Non-invasive detection matters because the old approach was costly and destructive. Crews would cut into concrete, guess at the location, and often dig in the wrong spot. Modern non-invasive tools let a technician narrow down the leak before any concrete comes up, which protects flooring, cabinets, and the foundation itself.
This guide from California Leak Detection Specialists covers five common ways to find a hidden leak. We also explain what each method can and cannot tell you, so you can understand the diagnosis you receive.
Our team works on residential homes only.
Slab Leak Signs Homeowners Should Watch For
Most slab leaks show up in a few predictable ways. Catching them early can limit the damage.
Watch for these common warning signs:
- Unexplained rise in your water bill, even when your household use stays the same
- Warm or hot spots on the floor, especially on tile or concrete, which can point to a hot water line leak
- The sound of running water when no fixture is on
- Damp carpet or soft flooring with no clear source
- Cracks or buckling in tile, flooring, or the slab itself
- A musty smell or visible mold along baseboards
A water meter that keeps moving while everything is off is one of the clearest clues. A water meter leak test is often a first step because it confirms whether water is escaping at all.
Keep in mind that these signs do not prove a slab leak on their own. Other problems, such as a drain issue or a fixture leak, can cause similar symptoms. That is why a proper diagnosis matters.
Acoustic Leak Detection: Listening for Water Under Concrete
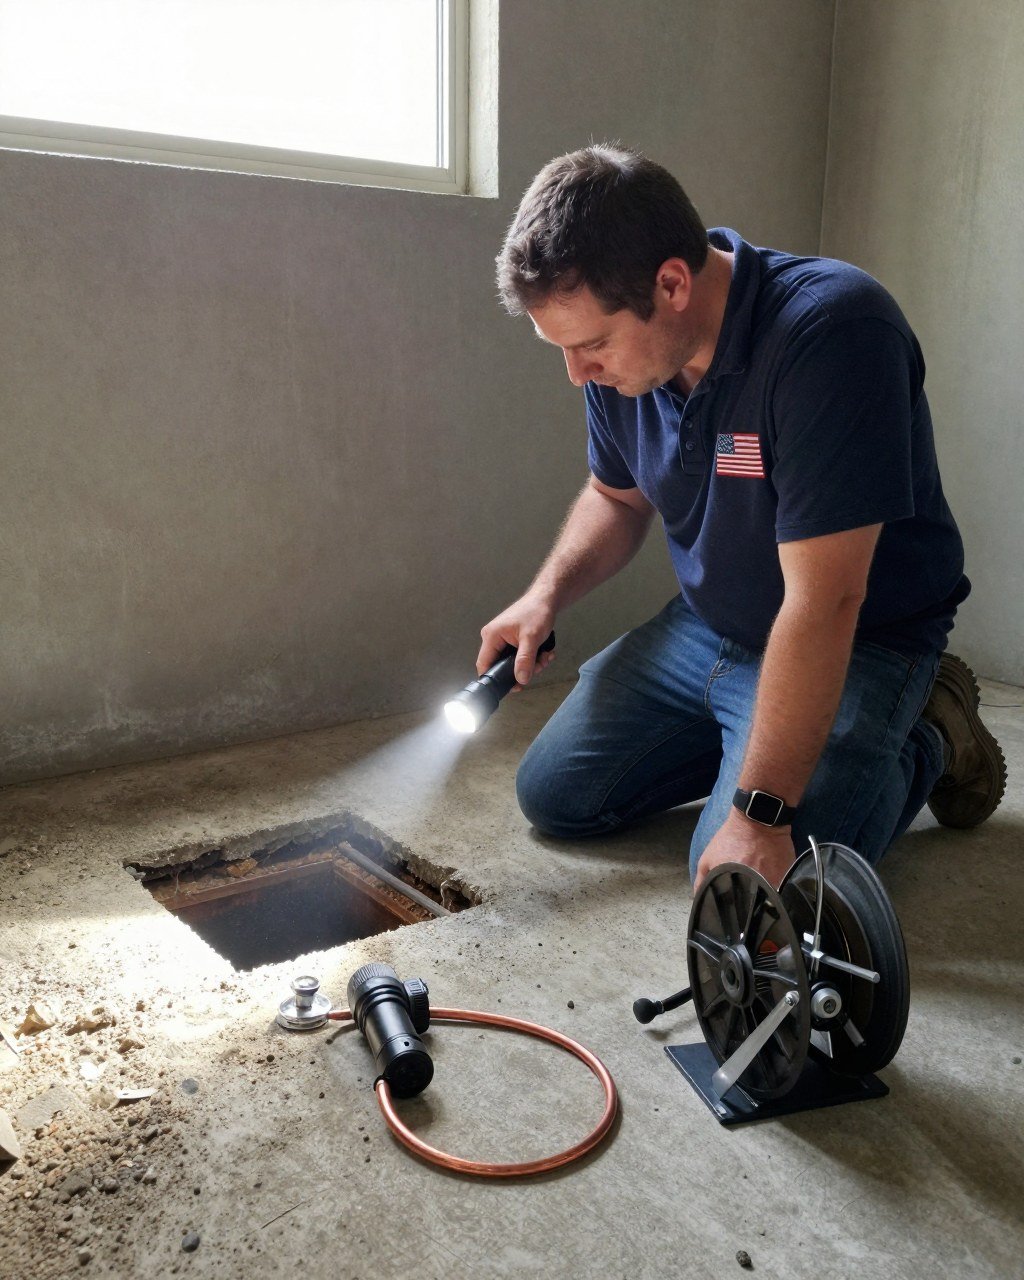
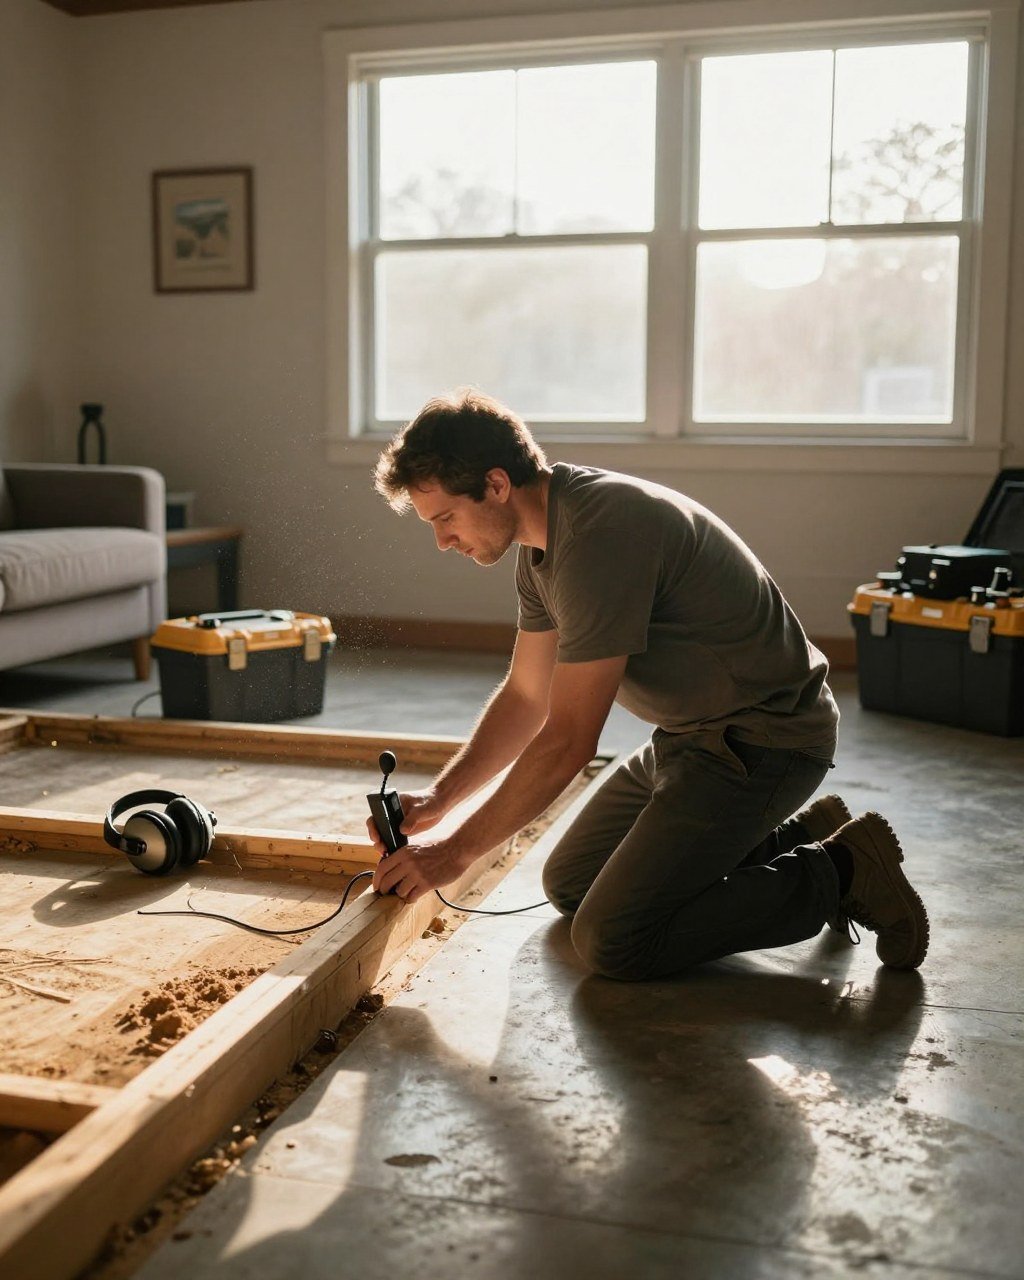
Acoustic leak detection uses sensitive listening devices to pick up the sound of water escaping under pressure. A technician places ground microphones or contact sensors on the floor and along the pipe route. The equipment amplifies the hiss or rush of water so the technician can hear where it is loudest.
This method works well for pressurized supply lines. Water under pressure makes a noise that travels through the concrete and the surrounding soil. The technician moves the sensors across the area and tracks where the sound grows strongest.
Acoustic detection has real limits. Background noise from nearby pipes, appliances, or traffic can confuse the reading. Some leaks are small or quiet, and a very deep or well-cushioned pipe can be harder to hear. For this reason, acoustic listening is usually paired with a second method rather than used alone.
Thermal Imaging Leak Detection and Its Limits
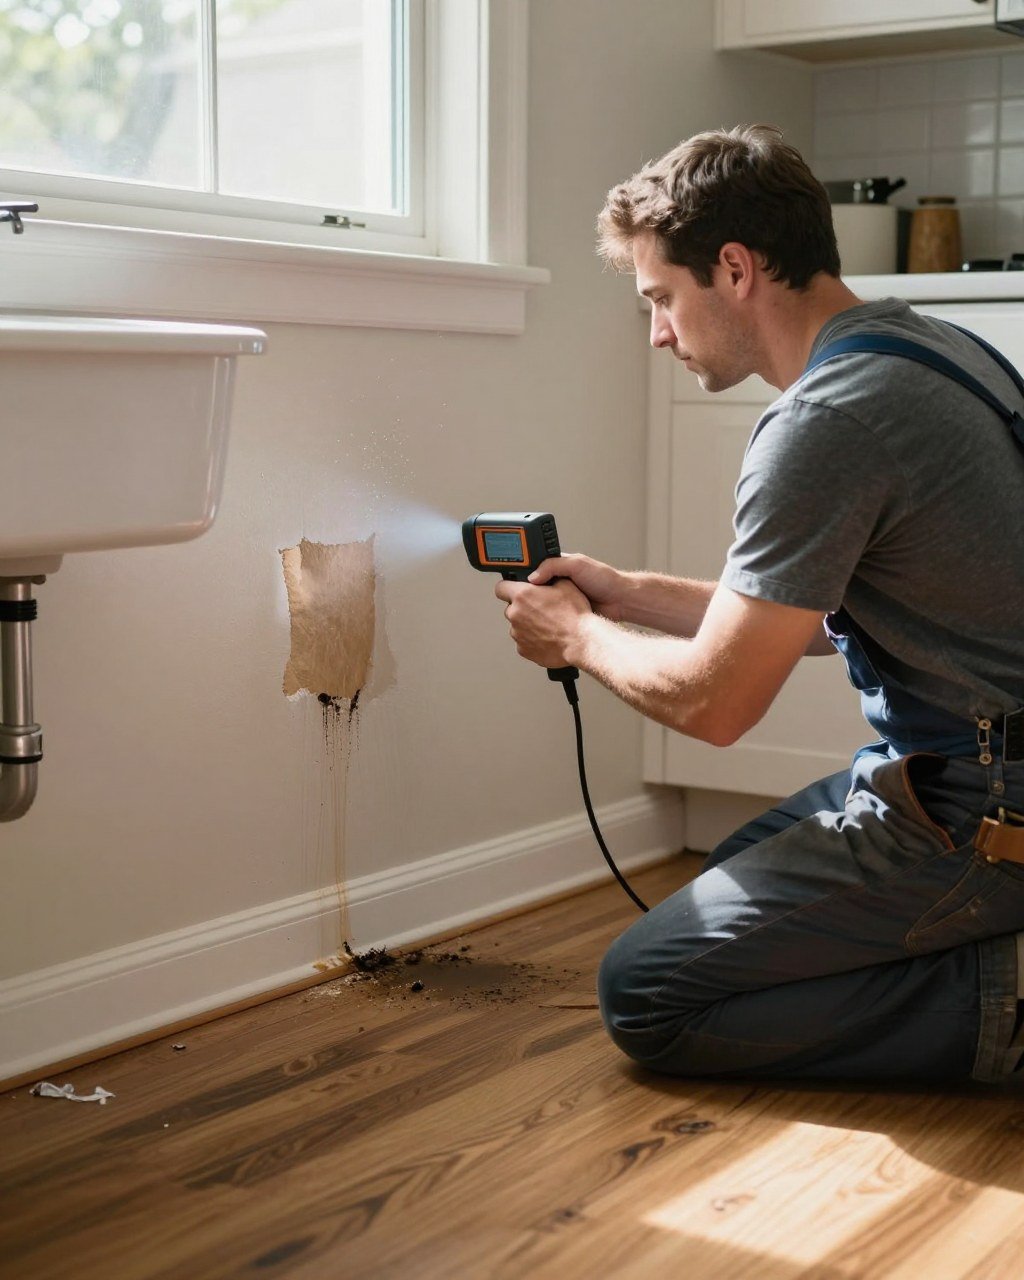
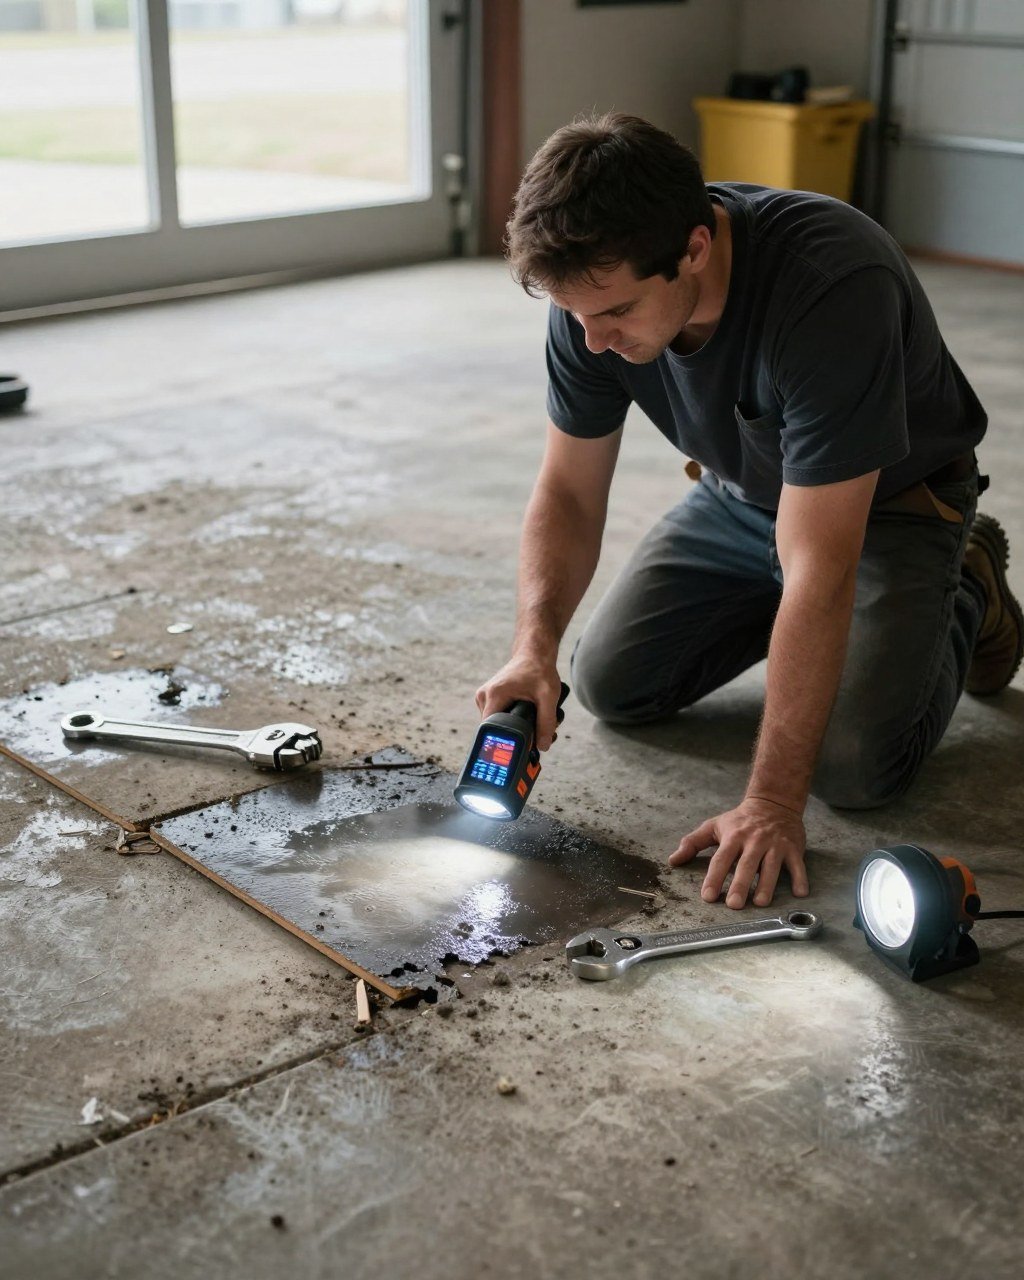
Thermal imaging leak detection uses an infrared camera to read surface temperature differences on a floor. The camera does not see water; it sees heat. A hot water line running beneath the slab can warm the concrete and flooring above it, and that warm path can show on screen as a lighter band against cooler surrounding floor.
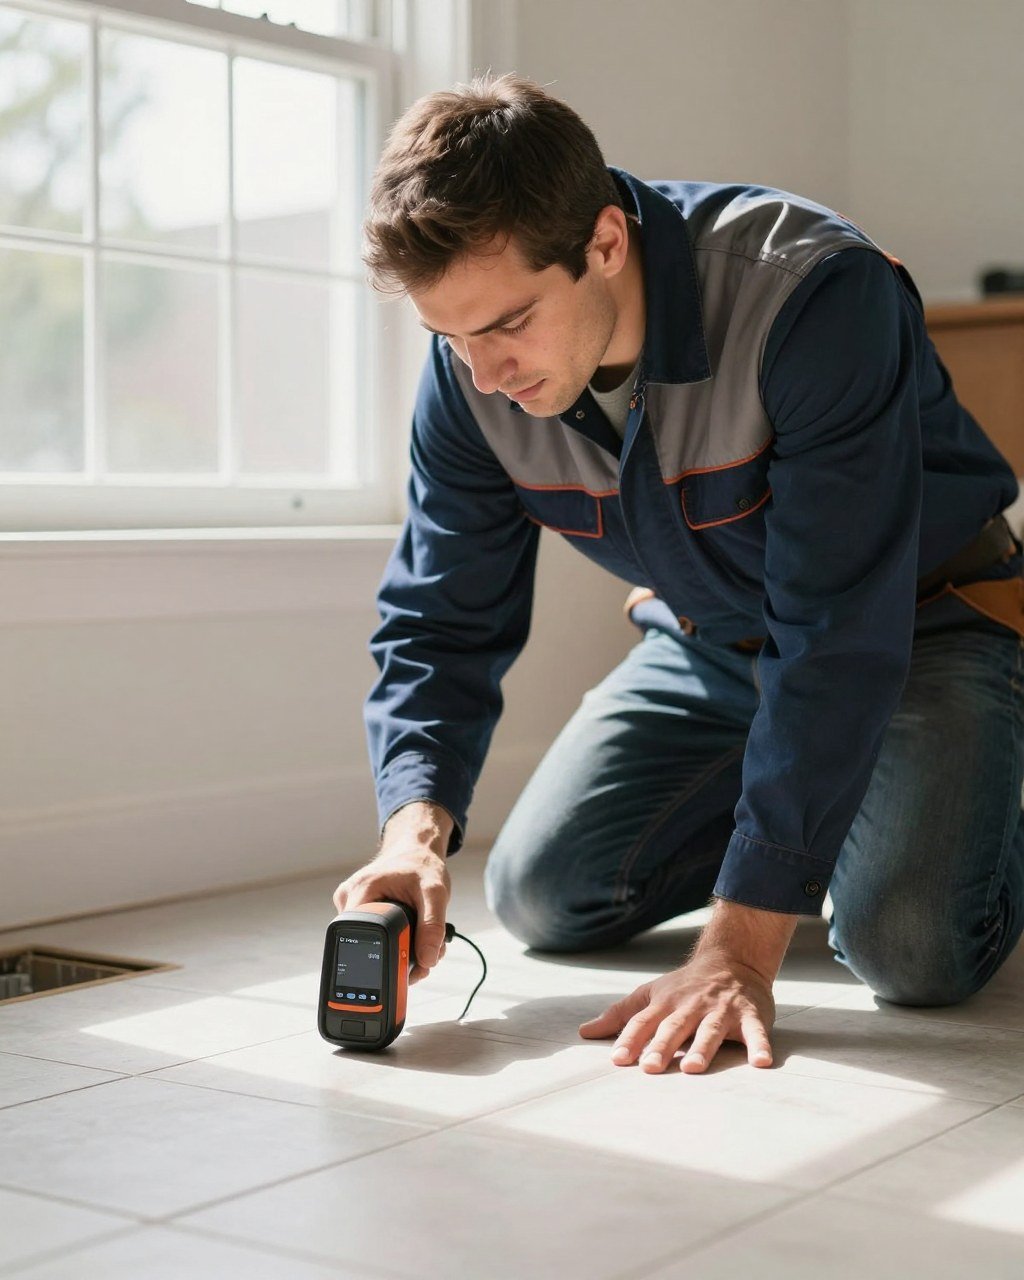
The mechanism explains both what the camera is good at and where it fails:
- It works best on hot water lines. A hot line creates a temperature difference the camera can read. A cold water leak often produces little or no thermal signature, because the water is close to the slab temperature and the leak spreads slowly.
- Floor coverings change the signal. Tile and concrete transmit heat well and show a clearer pattern. Thick carpet, padding, and rugs insulate the slab and blur the warm band, so the camera may show a faint or smeared area instead of a sharp line.
- Ambient conditions create false hot spots. Sunlight falling through a window, a heating duct running under the floor, a recent hot shower, or an appliance nearby can all warm the floor and mimic a leak. A technician reads the scan against the known layout of ducts and sun exposure to rule these out.
- It shows where heat is, not where water is leaking. A warm band confirms the pipe route; a hot spot suggests escaping hot water. Neither proves a leak on its own, so thermal findings are paired with acoustic listening and pressure testing before a location is marked.
How it pairs with the other methods. Thermal imaging is strongest as a mapping and confirmation tool. Acoustic listening finds the loudest point of escaping water; the thermal camera then shows whether the pipe route actually passes through that point, which catches a mark that landed beside the line rather than on it. On a hot water leak, the two signals together are strong evidence.
A thermal scan is a good early step and a useful confirmation, not a final answer on its own.
Water Meter Leak Test and Pressure Testing
A water meter leak test is a simple way to check whether water is leaving the system. The technician shuts off every fixture and appliance in the home, then reads the meter. If the meter keeps moving, water is escaping somewhere.
Pressure testing goes a step further. The technician isolates sections of the water line and pressurizes them, then watches a gauge for drops. A steady drop in pressure points to a leak in that section. By closing off sections one at a time, the technician can narrow the problem to a specific run of pipe.
These tests answer two important questions. First, is there a leak. Second, which part of the system is losing water. They do not show the exact spot under the slab, which is why they are often combined with acoustic listening or thermal imaging.
A Step-by-Step Diagnostic Workflow and How Results Are Confirmed
Most non-invasive diagnoses follow a clear order, and the order matters. Jumping straight to acoustic listening without first confirming the leak exists can send a technician chasing background noise. Here is a general sequence commonly used in residential slab leak diagnosis:
- Confirm the leak exists. Shut off every fixture and appliance, then watch the water meter. A meter that keeps moving with everything off confirms water is escaping. This step answers whether there is a leak at all before anyone tries to locate it.
- Isolate the system. Close the main shutoff and any line valves so the supply side can be tested separately from fixtures and irrigation. This prevents a fixture leak or a running toilet from being mistaken for a slab leak.
- Narrow the section with pressure testing. Isolate individual runs, hot, cold, and any branch lines, and pressurize each one while watching a gauge. A steady drop points to the section that is losing water. This step answers which part of the system is leaking, not where under the slab the leak sits.
- Locate the leak area with acoustic listening. With the line pressurized, move ground microphones or contact sensors along the pipe route and track where the hiss or rush is loudest. This is the first step that produces a location rather than a section.
- Map the pipe route with thermal imaging. On hot water lines, an infrared camera shows the warm path of the pipe and any hot spot where water is escaping. This helps confirm the acoustic finding and shows the pipe route so the mark lands on the line, not beside it.
- Mark the suspected spot and confirm before opening. The technician marks the floor, notes which methods agreed, and documents the finding. No concrete comes up until at least two independent methods point to the same area.
How results are confirmed. A single method can point to the wrong spot. Acoustic listening can be fooled by a drain line gurgling nearby, and thermal imaging can show a hot spot created by a heating duct or sunlight rather than a leak. Confirmation means more than one signal agrees: the pressure test says this section is losing water, the acoustic sensor says the sound is loudest here, and the thermal camera shows the pipe route passing through this mark. When methods disagree, the technician should say so and explain which signal is stronger and why, for example, a cold water line will not produce a thermal signature, so acoustic and pressure evidence carry the confirmation.
What documentation should include. A written finding typically records the symptoms reported, the tests performed, the meter and gauge readings, the methods that agreed, the marked location, and photos of the thermal or acoustic readings. That record matters if you later file an insurance claim or hand the job to a repair plumber, because it shows the leak was located before any opening was made.
Watch out: a technician who marks a spot from one method alone and reaches for a saw is skipping confirmation, ask which second method agreed before any concrete is cut.
Here is a quick summary of the five methods:
| Method | Best For | Main Limitation |
|---|---|---|
| Water meter leak test | Confirming a leak exists | Does not show the exact spot |
| Pressure testing | Narrowing to a pipe section | Requires isolating lines |
| Acoustic listening | Pinpointing pressurized leaks | Background noise can interfere |
| Thermal imaging | Mapping hot water lines | Weak signal on cold lines |
| Combined approach | Confirming the location | Takes more time than one test |
Booking Your Residential Slab Leak Inspection in Corona
If you suspect a slab leak in your Corona home, the first step is a professional inspection. A proper visit starts with a conversation about your symptoms, your water bills, and any damage you have noticed. From there, the technician chooses the right combination of tests for your home.
You can book a professional slab leak inspection in Corona with our team. Our reports include clear documentation, photos, and repair information.
For questions about cost, contact us for current pricing and a quote. For a step-by-step look at how these inspections work, see how to book a professional slab leak inspection.
Our team is licensed, bonded, and insured under CSLB License #741886. We provide clear reports, photos, and repair information, which can help with insurance questions. Call (951) 278-8999 to schedule a residential inspection in Corona.
Frequently Asked Questions
How do plumbers detect a slab leak?
Plumbers usually start with non-invasive methods. They may run a water meter leak test, use pressure testing to isolate the affected line, listen for leak noise with acoustic detectors, and scan the floor with thermal imaging to find temperature differences caused by escaping water. Each method narrows the search area. Results are then cross-checked before any concrete is opened, which helps limit unnecessary demolition and floor damage at the property.
Can you have a slab leak and not know it?
Yes. Some slab leaks produce few visible signs for weeks or months. Homeowners may notice a rising water bill, warm spots on the floor when hot water is running, soft or buckling flooring, or a faint sound of running water when the house is quiet. Because these signs can be subtle, a residential leak inspection is worth scheduling when the symptoms are unclear but the concern is real.
Will insurance pay for a slab leak?
Coverage depends on the homeowner's policy, the cause of the loss, and the terms of the claim. Many policies address sudden water damage differently than long-term seepage, so the documentation matters. Clear diagnostic reports, photos, and repair information can help an adjuster understand what was found and why. Homeowners should review their policy and contact their insurer before authorizing repairs.
How do plumbers confirm a slab leak without breaking concrete?
Confirmation usually combines several non-invasive results. Acoustic listening can pinpoint where leak noise is strongest, thermal imaging can show temperature variation along the line, and pressure testing can confirm whether a specific section is losing pressure. When these methods agree, the technician can mark the likely location. Limited access may still be needed for repair, so the final plan is based on the combined findings.