 How-to
Residential Leak Insurance Claims: Essential Evidence to Document
Last Updated: November 19, 2026
Quick Summary
Essential evidence for residential leak claims includes dated photos and video of the damage, documentation of the leak source, moisture readings, a damaged item inventory, and contractor reports. Capture evidence in stages: the first 24 hours, before repairs begin, and at proof of loss. A dated evidence log ties every document to a timeline showing when the damage started.
- About 1 in 60 insured homes files a water damage or freezing claim each year.
- Shoot wide photos first, then detail shots with a tape measure or coin for scale.
- Ask your plumber to photograph the opened wall or floor before and after the cut.
- Take dated photos weekly until the claim is settled to prove progressive damage.
- Do not authorize permanent repairs before the cause is documented, or the evidence is gone.
Table of Contents
- Why Evidence Decides a Residential Leak Claim
- Your Water Leak Insurance Claim Checklist by Claim Stage
- How to Take Photos for a Water Damage Insurance Claim
- Plumbing Leak Repair Documentation: Preserving Evidence While You Stop the Damage
- Documenting Hidden and Progressive Damage
- Water Damage Claim Adjuster Questions to Ask Before the Visit
- Building a Claim File You Can Hand Over
- When the Cause Is Disputed or Evidence Is Incomplete
- Frequently Asked Questions
Why Evidence Decides a Residential Leak Claim
Water damage drives a huge share of home insurance claims. According to ConsumerAffairs water damage claims statistics, about 1 in 60 insured homes files a property-damage claim caused by water damage or freezing each year. At California Leak Detection Specialists, we see the same pattern in the field: the payout rarely hinges on how bad the damage looks. It hinges on what the homeowner can prove.
That is the core problem with essential evidence for residential leak insurance claims. A wet ceiling tells a story. A photo with a date, a moisture reading, and a plumber's report tells a case.
Here is what most guides get wrong: they treat documentation as a single step. In practice, evidence has to be captured in stages, because the scene changes fast once repairs start.
Sudden and Accidental Versus Gradual Damage
Sudden and accidental damage is a single, unexpected event, like a burst supply line that floods a room overnight. Gradual damage builds over weeks or months, such as a slow slab leak that quietly warps flooring.
Most policies treat these very differently. A California Department of Insurance residential property claims guide explains that coverage depends on your specific policy and the facts of the loss. The Washington State Office of the Insurance Commissioner guidance on leaks and mold makes the same point: not every leak is covered.
So the evidence you gather has to answer one question clearly: when did the damage start, and was it sudden? For a deeper breakdown of what policies typically cover, see our guide to homeowners plumbing insurance coverage.
Your Water Leak Insurance Claim Checklist by Claim Stage
A water leak insurance claim checklist works best when it is split by timing, not by category. Evidence you gather in hour one looks nothing like the file you submit at proof of loss.
| Stage | Timing | What to Capture |
|---|---|---|
| Stage 1 | First 24 hours | Date and time discovered, wide photos, video walkthrough |
| Stage 2 | Before repairs | Leak source, moisture readings, damaged item inventory |
| Stage 3 | Filing and proof of loss | Receipts, contractor reports, sworn statement |
Stage 1: The First 24 Hours
Stop the water if you safely can, then document before you clean. Write down the date discovered and time discovered. Note the suspected cause in plain words.
Then shoot wide photos of every affected area before anything moves. A short video walkthrough that pans slowly across floors, walls, and ceilings is worth more than a dozen close-ups.
Stage 2: Before Repairs Begin
This is where most claims get thin. Before a single board comes up, capture the source of the leak, the spread of the damage, and an inventory list of personal belongings.
Photograph furniture, appliances, and stored items where they sit. Note each item's description, age, and estimated value. Pull original receipts and purchase records if you have them.
Stage 3: Filing and Proof of Loss
Proof of loss is the formal information you give your insurer to determine the loss. Treat it as a sworn document, because carriers do.
Gather repair receipts, mitigation invoices, and any contractor reports. Keep every document in one folder, labeled by date. If you are worried about common mistakes that sink claims, our article on preventing insurance claim denials for plumbing covers the ones we see most often.
How to Take Photos for a Water Damage Insurance Claim
Good photos for a water damage insurance claim follow one rule: context first, detail second. A close-up of a stain means nothing without a wide shot showing which room it is in.
Here is the sequence we recommend:
- Stand at the doorway and shoot wide, showing the whole room
- Move closer and shoot the damaged area at an angle
- Place a tape measure or coin beside the stain for scale
- Photograph the leak source itself if it is visible
- Repeat the same shots after any emergency work
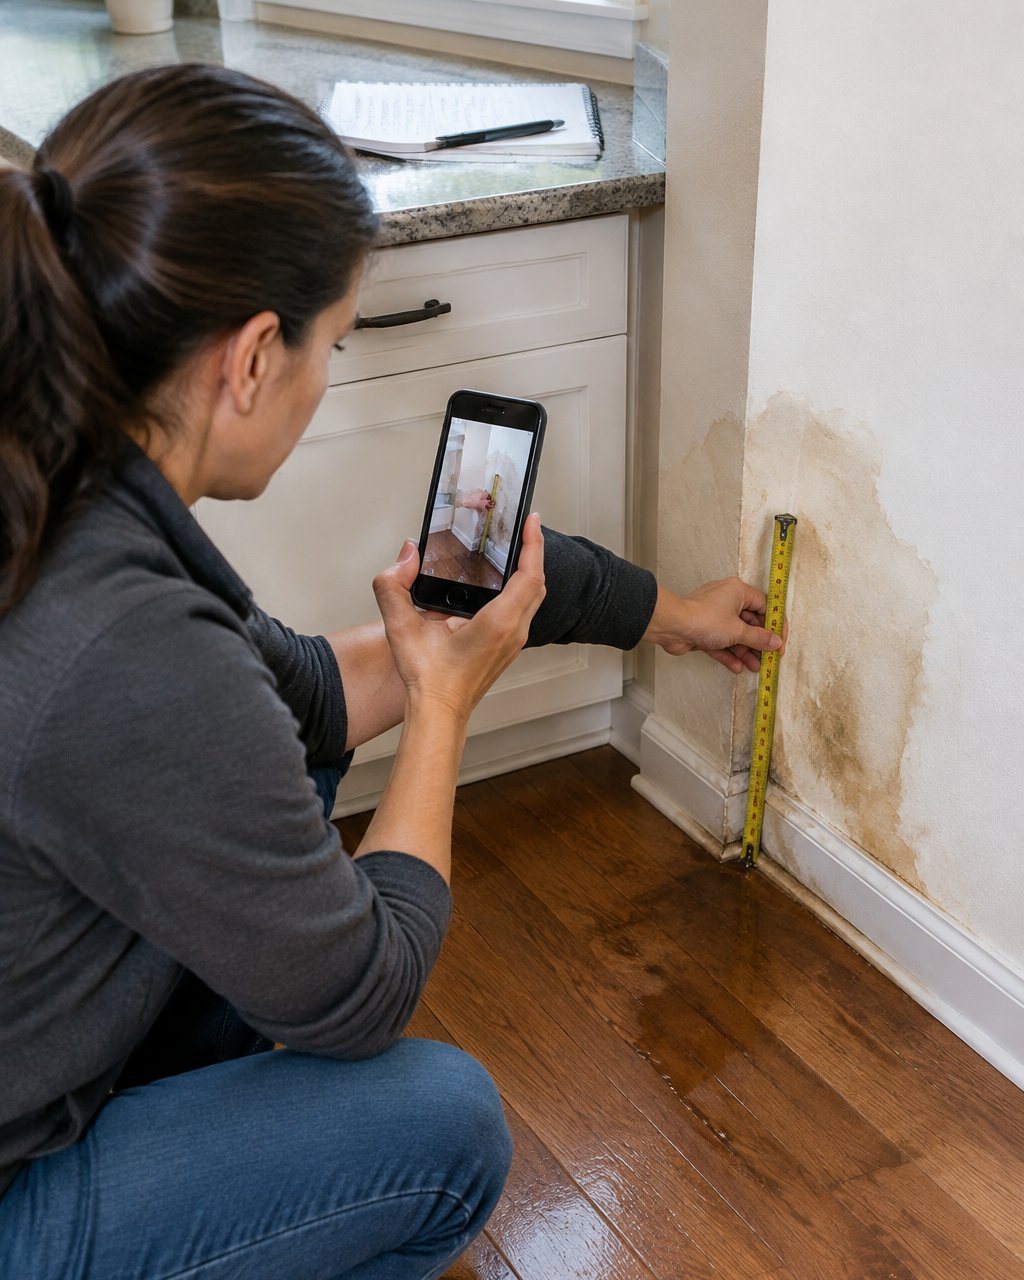
Turn on every light. Shoot video too, and narrate what you see and where you are standing. For a full walkthrough of this process, read 7 ways to document water damage for insurance claims.
Plumbing Leak Repair Documentation: Preserving Evidence While You Stop the Damage
You can stop the damage and keep the evidence. The two are not in conflict, but the order matters.
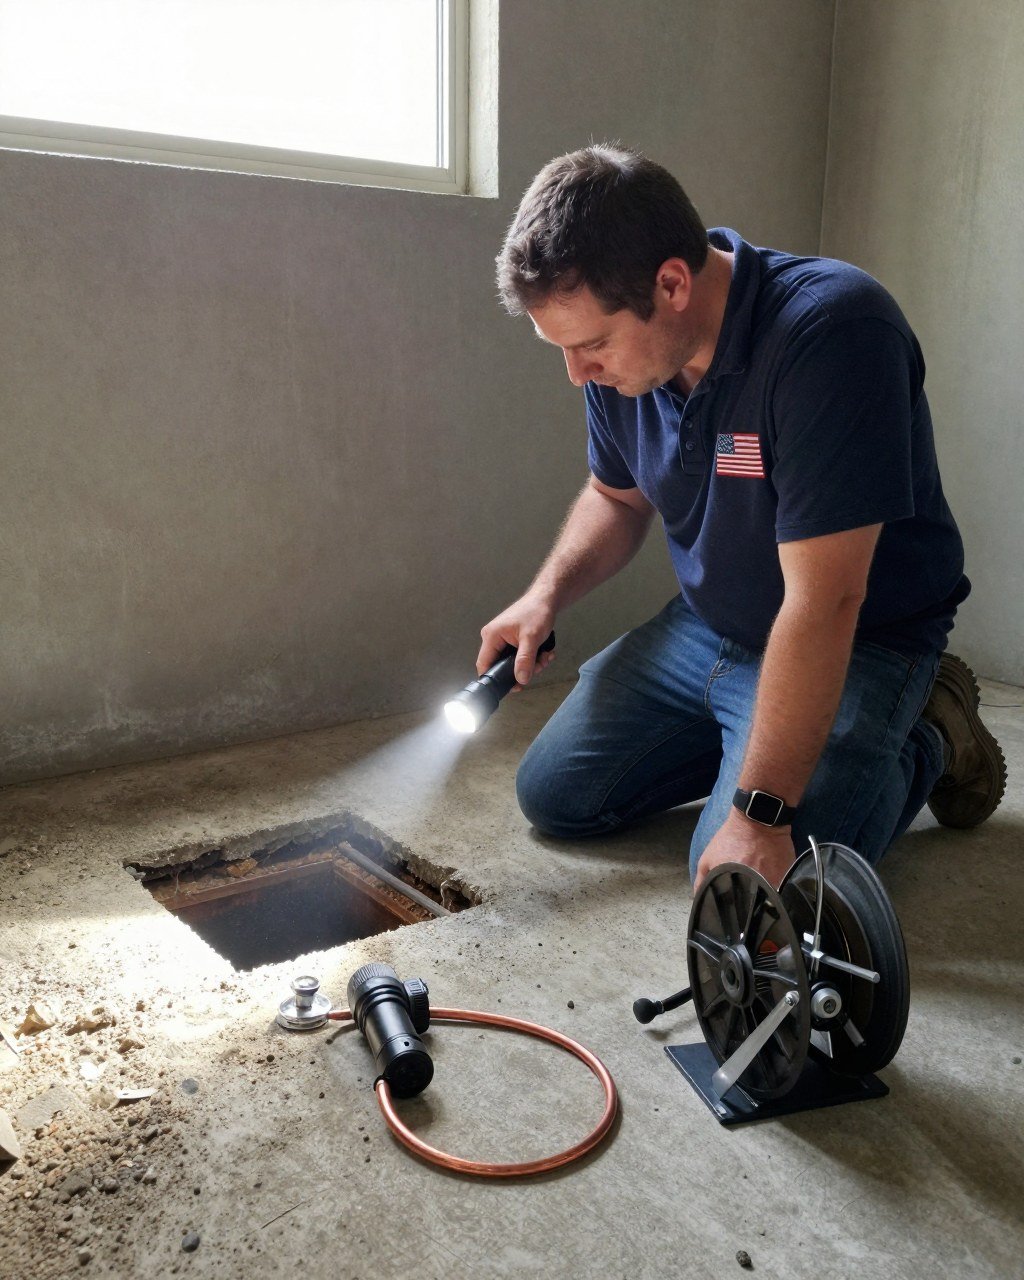
Shut off the water and call for help, then pause before demolition. Photograph and video the area first, including a wide shot of the room and a close-up of the leak source if it is visible.
Keep every plumbing leak repair documentation piece:
- The plumber's written findings on the leak source, including the failed component and its condition
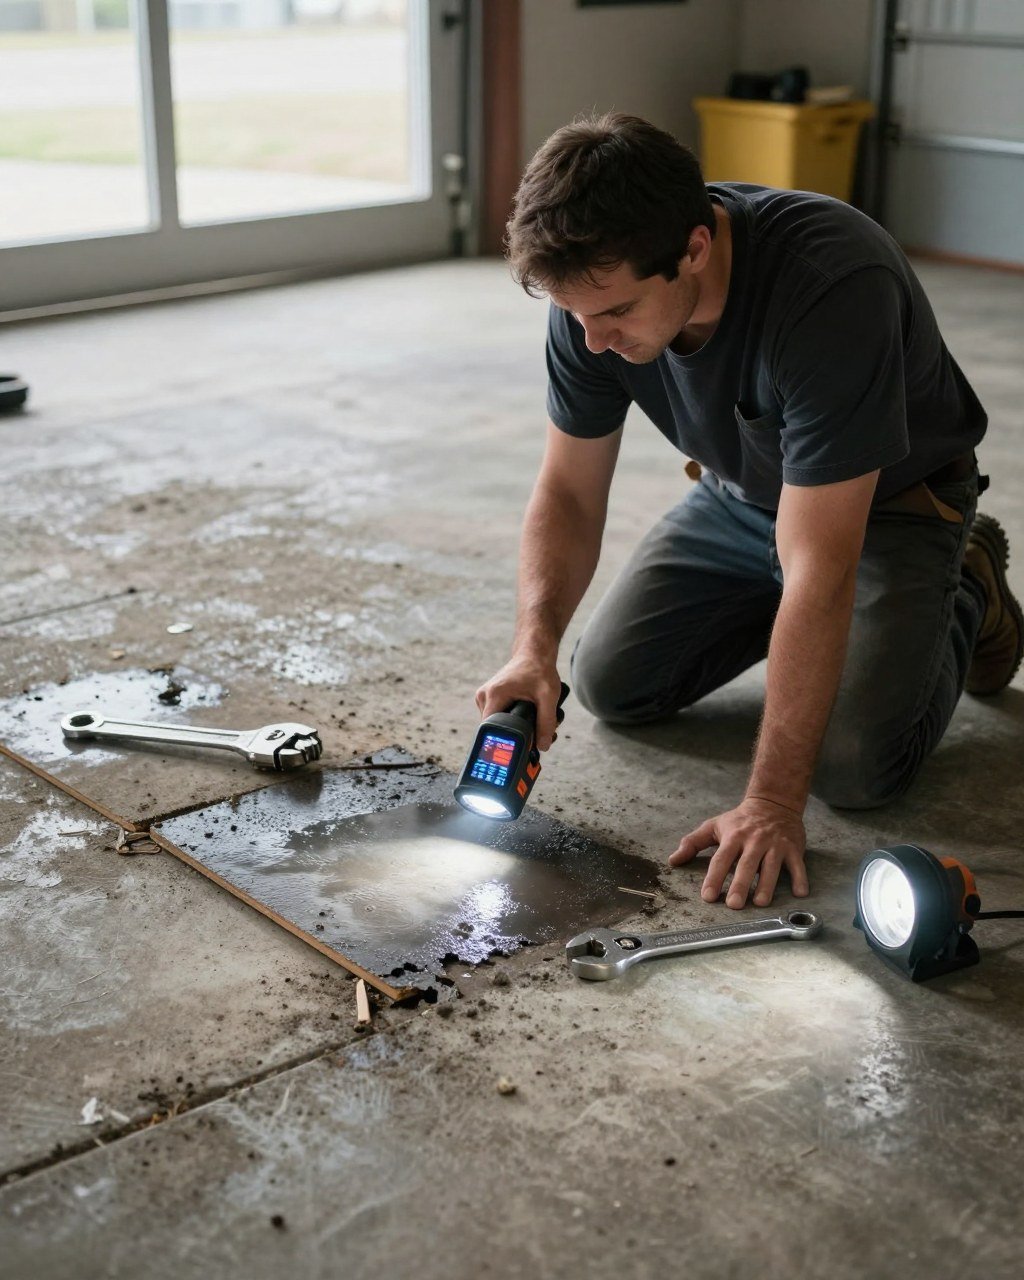
- Photos of the opened wall or floor, with a tape measure or coin for scale
- Parts removed, bagged and labeled with the date and location
- The repair invoice with dates, line items, and a clear description of the work
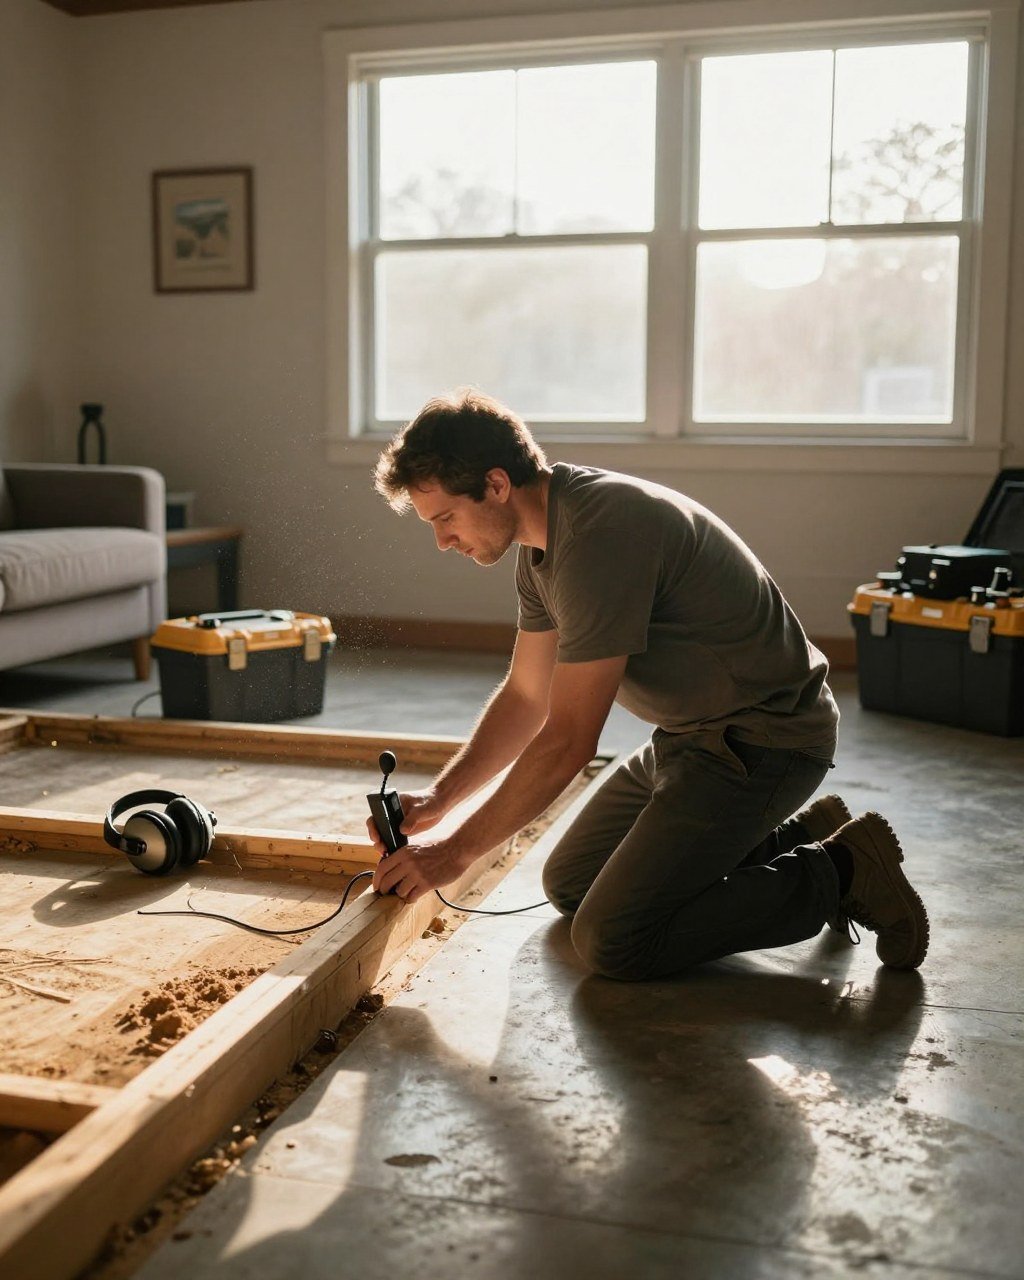
- Any diagnostic records, such as moisture meter readings or camera inspection footage
For repairs done through a non-invasive inspection, our guide to documenting a non-invasive inspection for your claim explains what a solid report should include.
When evidence is incomplete or the insurer disputes the cause, do not authorize permanent repairs before the cause is documented. Once the wall is closed, the evidence is gone. Request an independent assessment from a licensed residential leak detection specialist.
Documenting Hidden and Progressive Damage
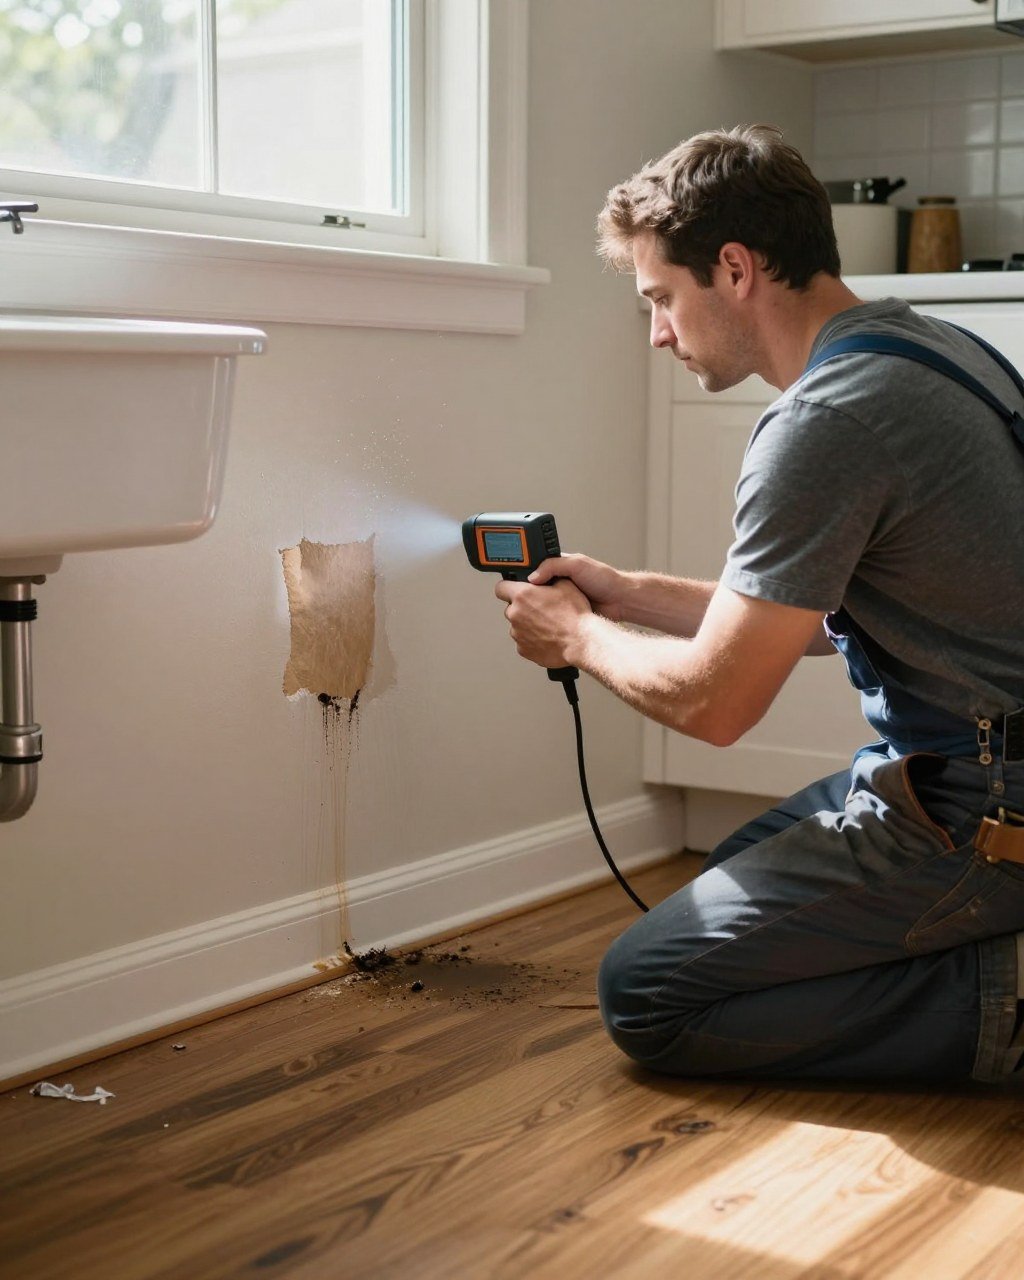
Hidden damage is the hardest part of a residential leak claim, because the clock is the whole argument. A slow leak behind a cabinet or under a slab leaves clues, and those clues are evidence.
Look for and photograph:
- Warped baseboards or soft spots in flooring
- Water stains with visible rings, which suggest repeated wetting
- Musty odors, which can point to mold growth
- Bubbling paint or loose tile
Take dated photos weekly until the claim is settled. A series showing the damage spreading is powerful proof that the problem was progressive, not a one-time event.
Water Damage Claim Adjuster Questions to Ask Before the Visit
The best water damage claim adjuster questions get asked before the adjuster arrives, not after. Preparation turns a tense inspection into a short, factual conversation.
Ask your adjuster:
- What documentation do you want before the visit?
- Will you need a contractor's report on the leak source?
- How should I document items I had to throw out?
- What is the deadline for my proof of loss?
- Who do I send photos and receipts to?
Write the answers down. Then walk the adjuster through the same path you photographed, in the same order. Consistency between your file and the walkthrough matters more than any single photo.
Building a Claim File You Can Hand Over
A claim file should be organized so a stranger can follow it in five minutes. That means one folder, one index, one numbering system, and one running log that ties every document to a date and a purpose. Most practitioners find that a simple evidence log is the difference between a claim that moves and one that stalls in requests for more information.
Start with a single evidence log. Use a spreadsheet or a lined notebook with columns for: date, time, event or item, who was involved, what was documented, and where the file is stored. Log every call, every contractor visit, every photo batch, and every expense the same day.
Use this folder structure:
- Index sheet: one page listing every document by date, with a one-line description and the file name
- Section 1: discovery notes, including date and time discovered and who was present
- Section 2: photos, numbered and captioned, with a wide shot first and detail shots after
- Section 3: video files, named by room and date
- Section 4: contractor and plumber reports, including diagnostic findings and repair invoices
- Section 5: receipts and estimates, including emergency mitigation and temporary repairs
- Section 6: inventory list with item descriptions, age, condition, and replacement cost estimates
- Section 7: correspondence with the insurer, including claim number, adjuster name, and deadlines
Name every file with the date first, like 2026-11-19-kitchen-wide.jpg, so the folder sorts chronologically without extra work. Keep a cloud backup and a local copy, and update the index sheet whenever you add a document.
Before you hand over the file, do a five-minute read-through as if you were the adjuster. Can you find the date of discovery, the suspected cause, the moisture readings, the mitigation invoice, and the inventory in under five minutes? If not, fix the index before submission.
When the Cause Is Disputed or Evidence Is Incomplete
A disputed cause is not the end of a claim, but it does change the job. Now you need an independent, documented diagnosis, not more photos.
This is where professional residential leak detection earns its place in the file. A licensed specialist can locate the source of the leak with minimal access and provide clear reports and photos for your claim.
For homeowners in Corona dealing with a disputed slab leak, our professional slab leak detection service includes noninvasive testing and clear documentation built for claims.
Watch out: do not authorize permanent repairs before the cause is documented. Once the wall is closed, the evidence is gone, and a denied claim is very hard to reverse.
A residential leak claim often depends on paperwork, and homeowners frequently learn that after the damage is repaired.
Frequently Asked Questions
What evidence should I gather for a residential leak insurance claim?
Start with dated photos and video of the leak source and every affected area, including floors, walls, ceilings, furniture, and appliances. Write down the date and time you discovered the leak, your suspected cause, and your policy number. Keep repair receipts, purchase records, and pre-loss images of damaged belongings. Add a written inventory with item descriptions, estimated age, and replacement cost. A professional leak detection report that identifies the source helps tie the damage to a specific plumbing failure.
Does homeowners insurance cover gradual water leaks?
Often it does not. Policies commonly cover sudden and accidental discharge, such as a burst supply line, while long-term seepage and the wear that caused it are typically excluded. That distinction is why documentation matters: dated photos, a leak detection report, and repair records help show when the damage began and what caused it. Reading your policy and documenting the facts is the practical approach rather than assuming coverage. Check your own policy language before filing.
What should I document before making emergency repairs?
Photograph and video everything before anything is moved or removed. Capture wide shots of each room, close-ups of the leak point, and the water line on walls or furniture. Record a narrated walkthrough describing what you see. Save the damaged part if possible, such as the failed fitting or a section of pipe. Keep every receipt for emergency work, fans, dehumidifiers, and temporary repairs. These records support mitigation and prevent further damage claims later.
What should I avoid saying to a water damage claim adjuster?
Avoid guessing at the cause or timeline. Saying the stain has been there for months can turn a sudden and accidental claim into a maintenance dispute. Do not speculate about value, admit fault, or sign anything before you have read it. Stick to what you observed and when. Refer cause questions to your leak detection report. Ask the adjuster what documentation they need and get their name, direct number, and claim number in writing so your file stays complete.