 how-to
Accurate Hidden Leak Diagnosis With Minimal Access
Table of Contents
- Why Accurate Hidden Leak Diagnosis Matters Before Repair
- Step 1: Initial Assessment and Water Usage Analysis
- Step 2: Non-Invasive Leak Detection Methods
- Step 3: Electronic Leak Detection Equipment
- Step 4: Slab Leak Detection and Confirmation
- Step 5: Generating a Detailed Leak Detection Report
- Getting an Accurate Repair Quote Without Unnecessary Demolition
- Conclusion
- Frequently Asked Questions
Last Updated: October 18, 2026
Why Accurate Hidden Leak Diagnosis Matters Before Repair
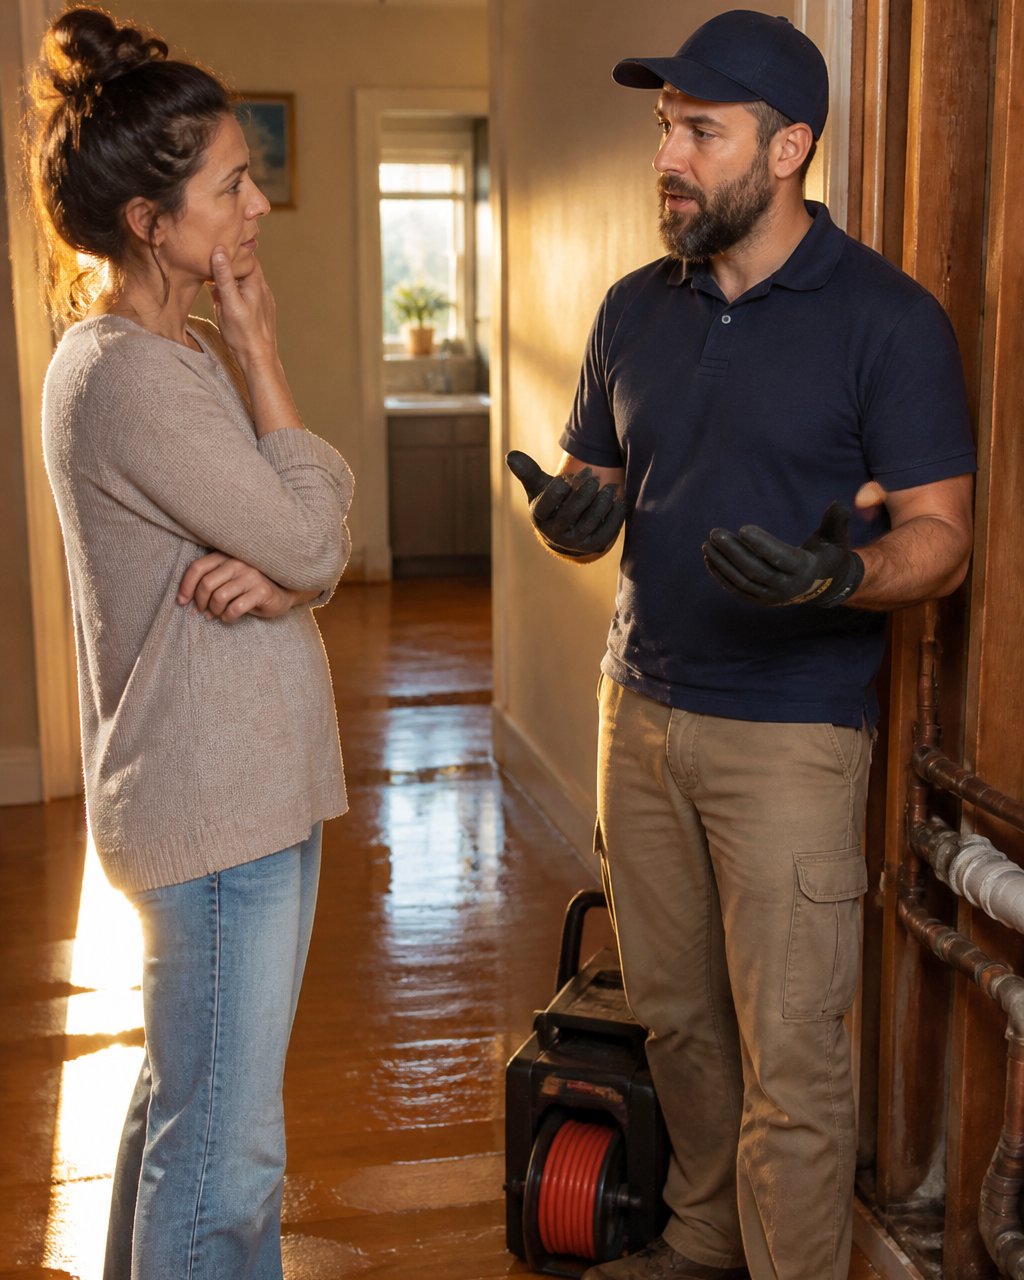
A hidden leak diagnosis is the process of identifying water leaks inside walls, under flooring, or within slab foundations without tearing up your home. At California Leak Detection Specialists, we've worked with homeowners who faced the same fear: unnecessary demolition and repair bills that skyrocket when contractors guess instead of confirm.
The real problem isn't finding leaks. It's finding them accurately with minimal access so your repair quote reflects reality, not guesswork.
When a plumber tears into your slab or walls without confirming the exact leak location, you end up paying for damage you didn't need to create. A precise hidden leak diagnosis changes that equation.
This matters for three reasons: your wallet, your home's structure, and your insurance claim. If you're filing a claim, insurers want documented proof of the leak's location and cause. Vague estimates don't cut it.
Step 1: Initial Assessment and Water Usage Analysis
Start by reviewing your water meter and recent bills. A spike in water usage without explanation points to an active leak. Ask yourself: Is your bill higher than usual?
This first step costs nothing and tells you whether a leak exists before you call a technician.
Document the following:
- Your normal monthly water usage (check past bills)
- When you first noticed the spike
- Any visible water damage, stains, or wet areas
- Whether the problem is constant or intermittent
Many homeowners skip this step and jump straight to hiring someone. Don't. A clear timeline and documented usage pattern gives the technician crucial information and speeds up diagnosis.
If your meter shows water flow even when all fixtures are off, a leak is almost certainly present.
Step 2: Non-Invasive Leak Detection Methods
Non-invasive leak detection methods locate leaks without breaking walls or concrete. These techniques save money and preserve your home's structure.
The most common non-invasive approaches include:
- Visual inspection: A technician walks your property looking for wet spots, discoloration, mold, or soft areas in flooring or walls
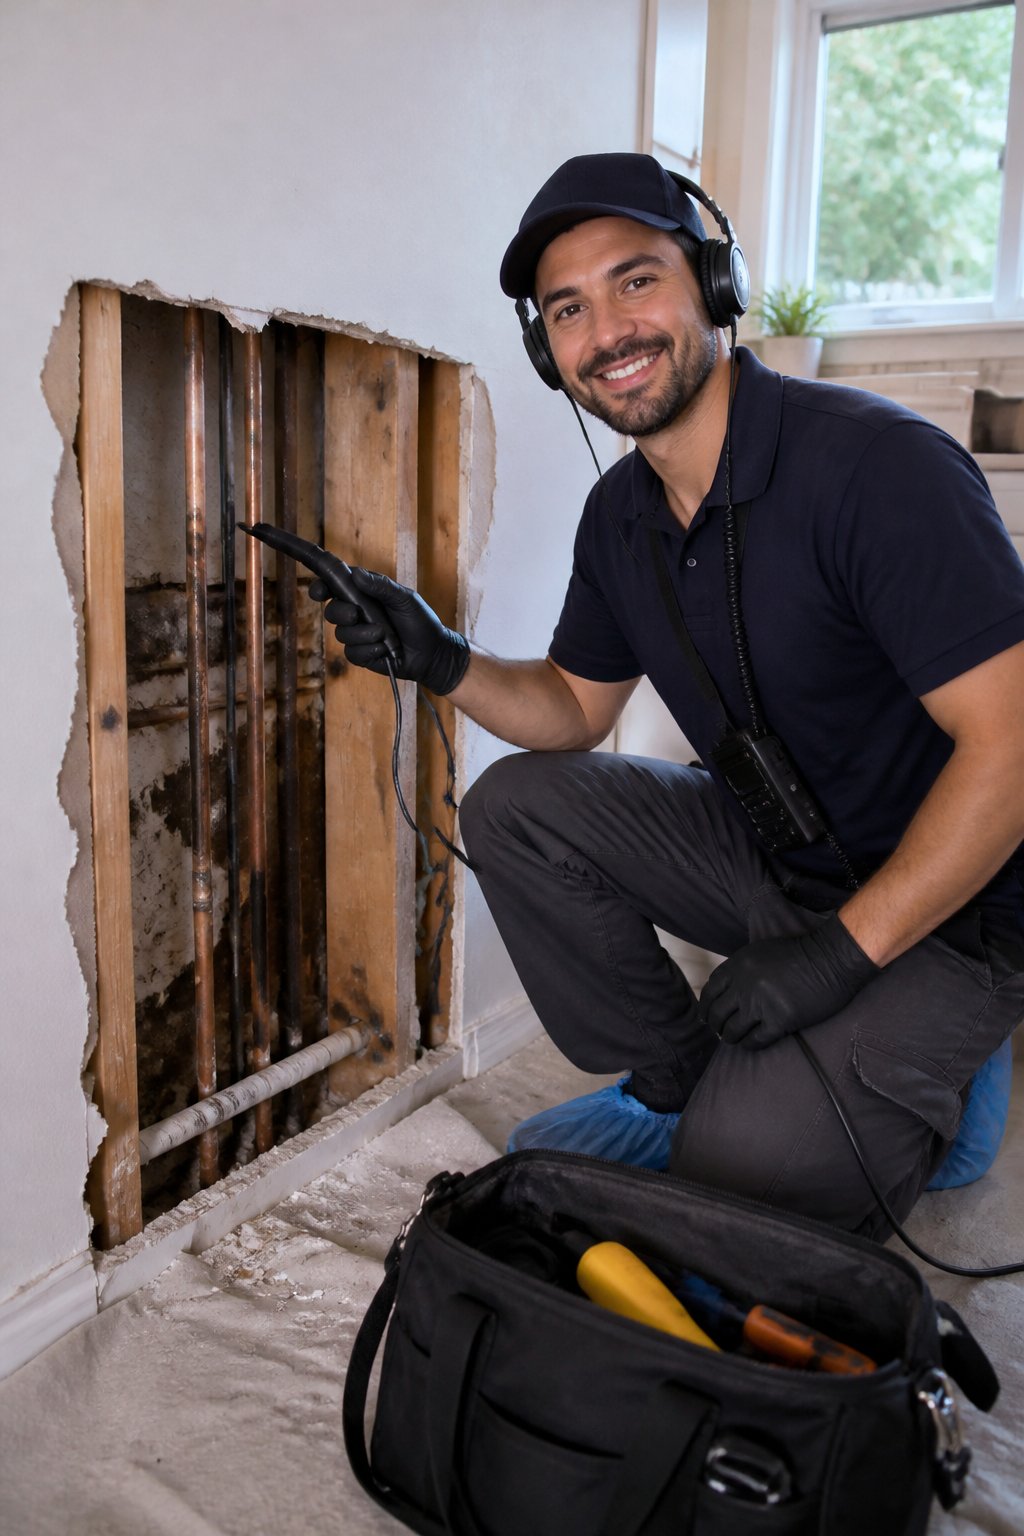
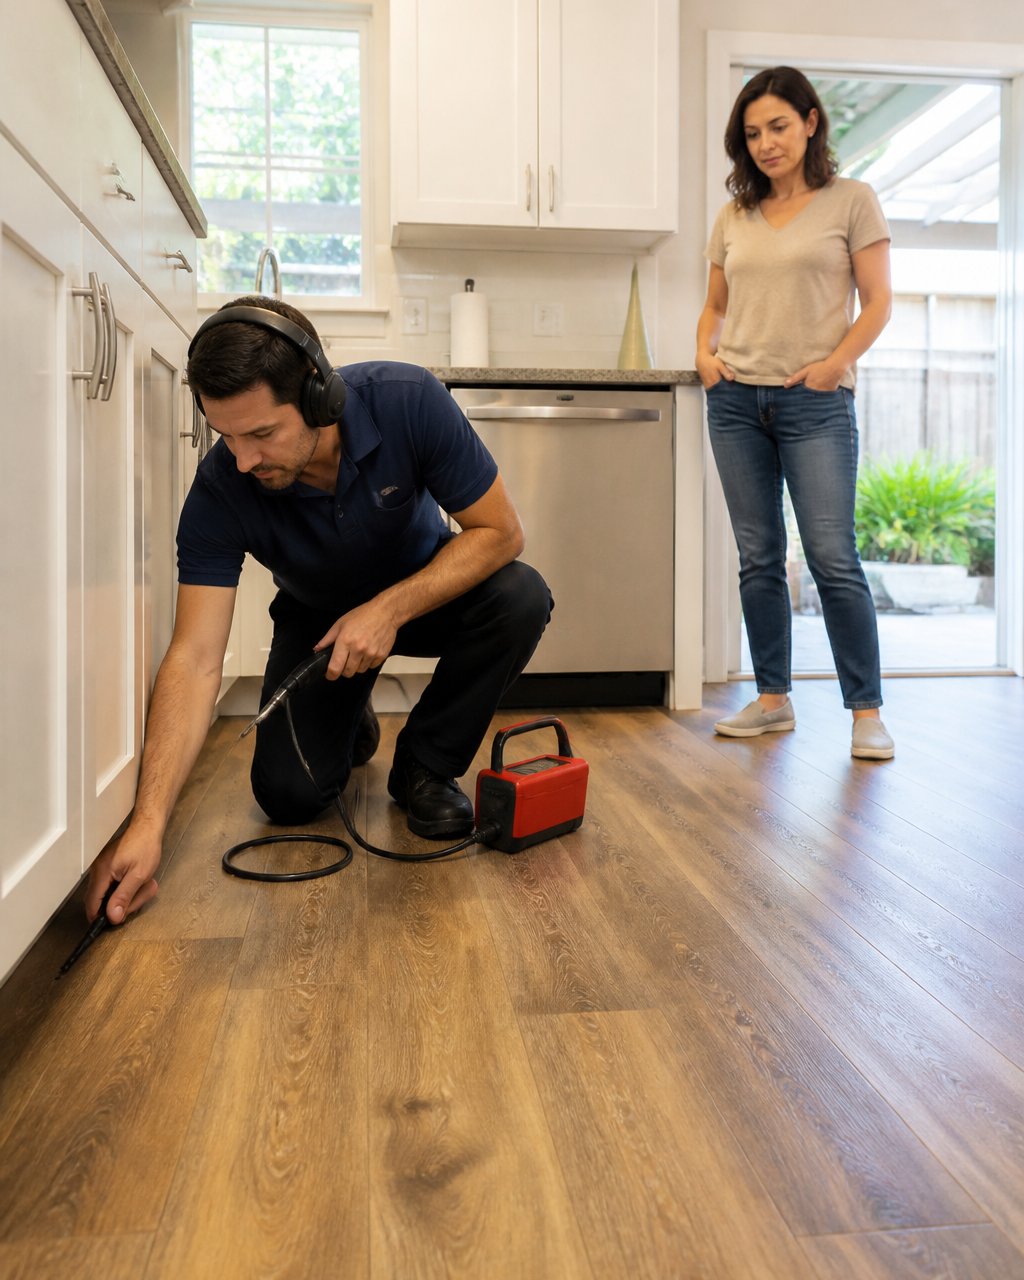
- Acoustic listening: Specialized equipment picks up the sound of water escaping under pressure through pipes
- Thermal imaging: Infrared cameras detect temperature differences caused by water movement behind walls or under slabs
- Moisture meters: Handheld devices measure moisture levels in walls, flooring, and surrounding materials
Start with visual inspection and acoustic methods. They're fast, affordable, and often pinpoint the problem area within an hour. If those don't confirm the leak, thermal imaging narrows it further.
California Leak Detection Specialists uses these methods first because they give you answers without unnecessary access. Most hidden leaks are found this way before any invasive testing becomes necessary.
Step 3: Electronic Leak Detection Equipment
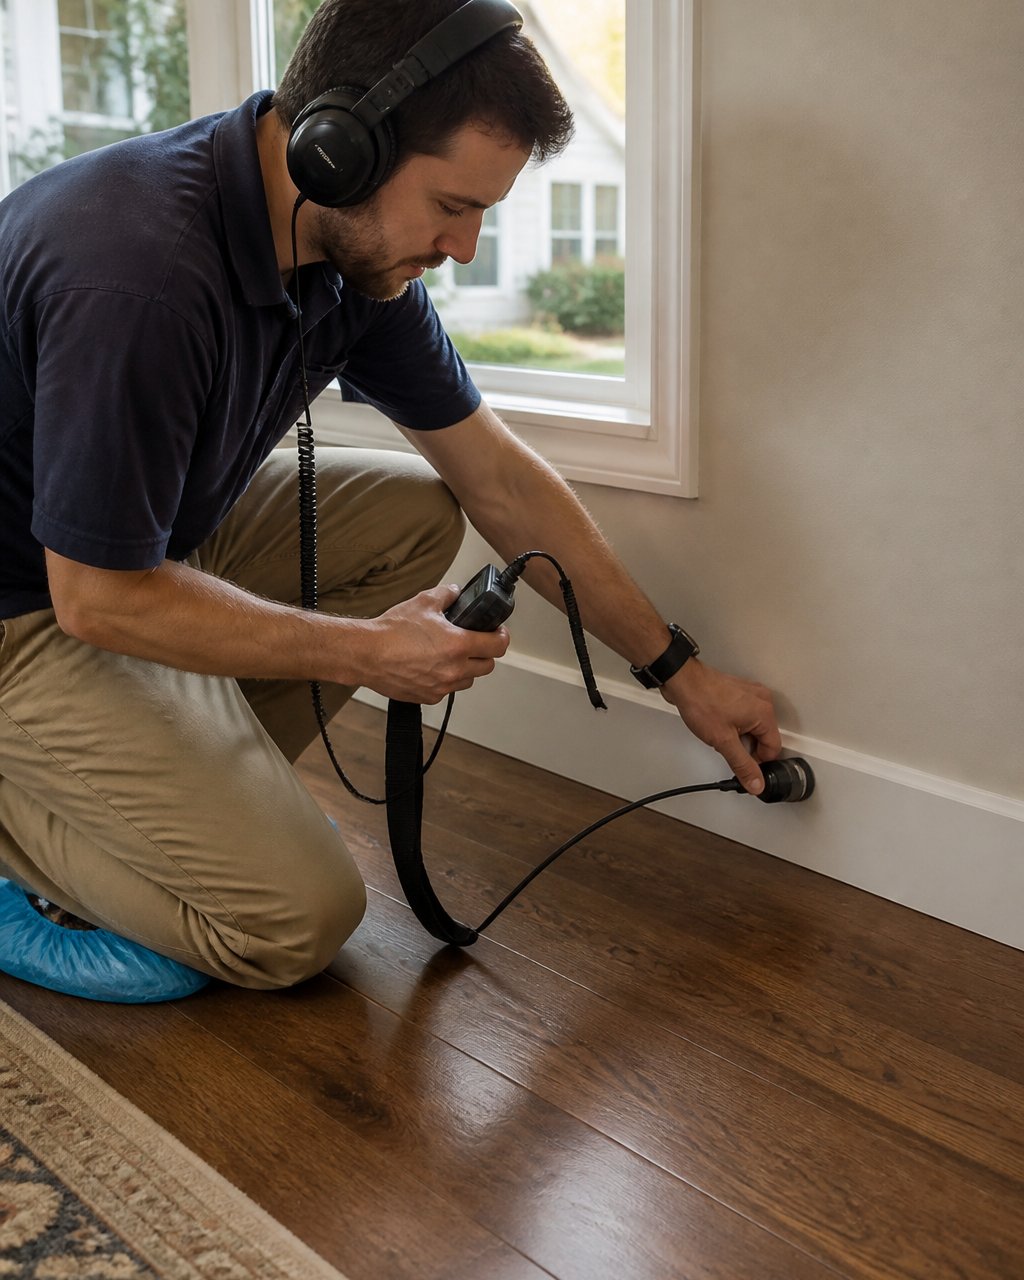
Electronic leak detection equipment turns a broad search area into a pinpoint.
The core instruments and what each actually measures:
- Acoustic correlators: Two sensors placed on accessible pipe or fixture points capture the sound of pressurized water escaping. The correlator calculates the time delay between sensors to estimate distance to the leak, typically within a few feet in metal pipe, wider in plastic because the signal attenuates faster.
- Electromagnetic locators: Trace metal pipes and detect flow-induced signals, helping confirm the pipe route so the leak point can be referenced to a fixed feature (e.g., "3 feet from the east wall under the kitchen floor").
- Moisture probes and meters: Measure water content in concrete, soil, and framing. They map the wet zone but do not locate the pipe breach itself, useful for narrowing where to focus acoustic or thermal work.
- Thermal imaging cameras: Show temperature differences caused by water movement or evaporative cooling. Best for confirming the wet zone behind walls or under slabs, but limited by insulation, surface coverings, and small temperature gradients.
- Tracer gas systems: Introduce a safe gas mixture (often helium or nitrogen) into a drained line and use a sensitive detector at suspected escape points. This is the method of last resort when acoustic and thermal signals are ambiguous, common in deep slab or noisy environments.
A practical sequence most experienced technicians follow:
- Isolate the system: Shut off fixtures and appliances to confirm whether the leak is on the pressurized supply side or the drain side. This single step prevents chasing the wrong pipe.
- Map the pipe route: Use locators and known fixtures to sketch where the line runs. Without a route map, even a strong acoustic signal can be misread.
- Listen and correlate: Acoustic listening first, then correlation if the signal is clear enough. Correlation works best on metal pipe; plastic pipe often requires lower frequencies and more careful sensor placement.
- Confirm with a second method: Thermal imaging or moisture mapping to verify the wet zone aligns with the acoustic estimate. Agreement between two independent methods raises confidence; disagreement signals the need for tracer gas or pressure isolation testing.
- Mark and document: The suspected point is marked and referenced to fixed features. This is the handoff point for a repair quote.
Electronic detection typically takes 1-3 hours depending on home size and pipe layout, but accuracy is not uniform.
This step is critical because it bridges the gap between "there's a leak somewhere" and "the leak is here, under this section of flooring." Without it, a repair contractor has to guess, and guessing leads to unnecessary demolition.
Step 4: Slab Leak Detection and Confirmation
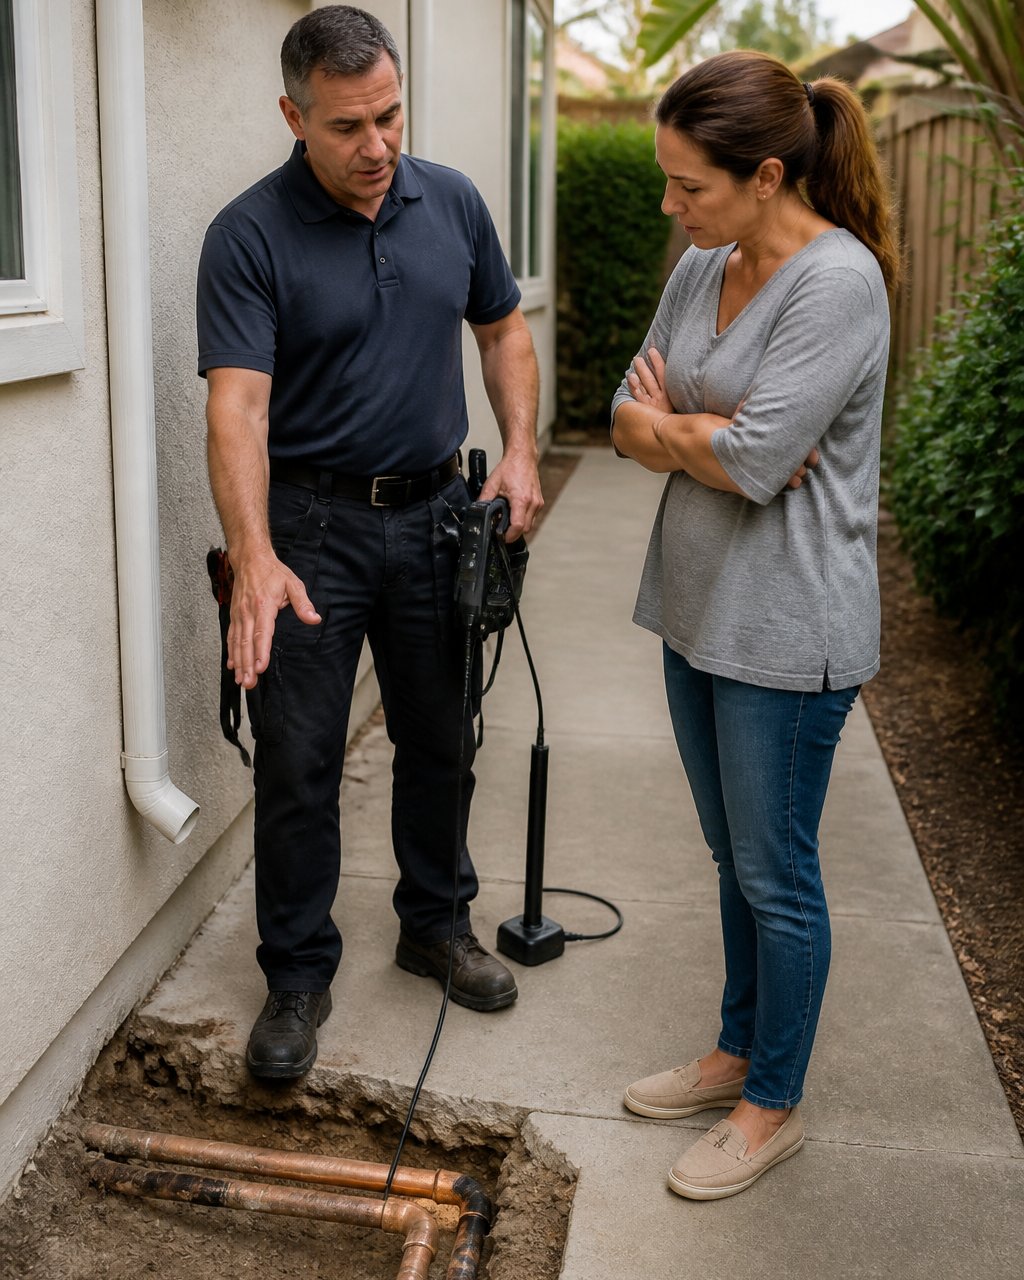
Slab leak detection focuses specifically on water lines running beneath concrete foundations. These leaks are common in older homes and are often the hardest to pinpoint without proper equipment.
A slab leak typically shows these signs:
- Warm spots on the floor with no heat source nearby
- Cracks in concrete that follow a linear pattern
- Water pooling in the yard or crawl space
- Unusually high water bills with no visible interior leaks
The confirmation process uses a combination of methods:
- Acoustic testing to locate the sound of water escaping
- Thermal imaging to show temperature variations in the concrete
- Moisture testing of soil around the foundation
- Tracer gas in some cases (helium or nitrogen introduced into the line to detect escape points)
Once the technician confirms the slab leak location, they'll mark it clearly. This is your roadmap for the repair estimate.
Many homeowners worry that slab leak confirmation requires breaking the concrete. It doesn't. Modern detection methods locate the leak without demolition. You only break concrete when you're ready to repair, and by then you know exactly where to dig.
Step 5: Generating a Detailed Leak Detection Report
A solid leak detection report is your insurance against surprise costs and your proof for insurance claims.
A useful report should contain:
- Leak location: Specific address within your home, referenced to fixed features (e.g., "under kitchen floor, 8 feet from east wall, 2 feet from the sink supply line").
- Suspected cause: Corrosion, joint failure, crack, puncture, or poor installation, with the evidence that supports it.
- Detection methods used and results: Which tools were applied, what each showed, and whether they agreed. This is the evidence trail.
- Confidence level: A plain statement of how certain the technician is, e.g., "confirmed point," "probable zone within 3 feet," or "system-level leak, location not isolated." This sets expectations for the repair quote.
- Access recommendation: The least invasive way to reach the leak for repair (e.g., "open 2 ft × 2 ft section of slab," "access through crawlspace," "trenchless lining candidate"). This is the minimal-access plan.
- Photos and diagrams: Visual evidence with the suspected point marked and dimensions noted.
- Repair scope options: If more than one repair method is viable (e.g., spot repair vs. reroute vs. trenchless lining), list them with the access each requires.
- Technician credentials: License number, company name, inspection date, and equipment used.
How to use the report to get comparable quotes:
- Share the report with every contractor you ask to quote. Ask each to price the same scope. If a contractor wants to "take a look" before pricing, ask whether that look involves opening the wall or floor, if so, you've already paid for that confirmation.
- Require the quote to reference the report's location and access plan. A good estimate says "Repair slab leak at kitchen floor, 8 feet from east wall, using trenchless epoxy lining, access via 2 ft × 2 ft slab opening," not "Fix water leak."
- Ask how the quote handles confidence level. If the report says "probable zone," the quote should state what happens if the leak is not exactly at the marked point, who bears the cost of additional access.
- Confirm whether the quote includes leak confirmation or assumes diagnosis is complete. Some contractors include a second verification; others price only the repair. You want to know which.
- Ask about guarantees. Does the repair come with a warranty? What happens if the leak wasn't where the diagnosis said it was? A reputable contractor stands behind their work and will put the answer in writing.
The report should be specific enough that a second technician could use it to verify the diagnosis without repeating the entire process. Vague reports create doubt and invite additional testing you don't need.
California Leak Detection Specialists provides detailed reports with photos, confidence levels, and access recommendations so you understand exactly what was found and how to scope the repair. This transparency protects you during repairs and simplifies insurance claims.
Getting an Accurate Repair Quote Without Unnecessary Demolition
Once you have a confirmed diagnosis, the repair quote becomes straightforward. A contractor can now estimate the work without exploratory demolition.
Here's how to use your diagnosis to get an accurate quote:
Share the leak detection report first. Don't let a contractor give you a quote without seeing the diagnosis. If they want to "take a look" before pricing, that usually means they plan to break things open to confirm. You've already paid for that confirmation.
Ask the contractor how they'll access the leak. Will they excavate, cut flooring, or use a trenchless method?
Confirm whether the quote includes leak confirmation or assumes diagnosis is complete. Some contractors include a second verification in their price.
Ask about guarantees. Does the repair come with a warranty?
The goal is simple: diagnosis + accurate quote + transparent repair scope.
Conclusion
Accurate hidden leak diagnosis with minimal access is the foundation of a fair repair quote. It protects your home, your budget, and your insurance claim.
The process is straightforward: start with usage analysis, move to non-invasive methods, confirm with electronic equipment, and generate a detailed report.
When you're ready to get your hidden leak diagnosed with precision and minimal disruption, California Leak Detection Specialists is here to help. We provide detailed reports, clear documentation for insurance claims, and expert guidance on repair options.
Frequently Asked Questions
How do professionals find hidden water leaks without opening walls or floors?
Professionals use a combination of non-invasive techniques to pinpoint hidden leaks. Electronic leak detection equipment listens for the sound of water escaping from pressurized pipes. Acoustic sensors pick up frequencies that indicate water movement behind walls or beneath slabs. Thermal imaging cameras detect temperature differences caused by water. Once these methods narrow the location, technicians may use tracer gas or moisture detection to confirm the exact spot before any access is needed.
What should a professional leak detection report include for insurance claims?
A comprehensive leak detection report should document the leak's location with photos, describe the detection methods used and their findings, include measurements and depth readings, state the technician's confidence level in the diagnosis, recommend specific repair approaches, and provide enough detail for your insurance adjuster to understand the scope of work. The report should also include the technician's credentials and license information, making it clear the diagnosis comes from a qualified professional.
Can a plumber provide an accurate repair quote before opening a wall or floor?
Yes, when accurate leak detection has pinpointed the problem. Once the leak location is confirmed through non-invasive methods, a technician can assess the repair scope and provide a detailed estimate based on the pipe type, depth, and access requirements. This prevents the costly guesswork of opening multiple areas. However, some repair variations may only become clear during the actual work, so a good estimate includes a range and explains what might cause adjustments.
How accurate is electronic leak detection for finding hidden leaks?
Electronic leak detection is highly accurate when performed by experienced technicians, typically pinpointing leaks within a few feet. Accuracy depends on pipe material, water pressure, soil composition, and background noise. Acoustic listening can detect leaks in copper and PVC pipes but may be less effective in certain conditions. Combining multiple detection methods increases confidence. A qualified technician will explain their confidence level and recommend confirmation steps if needed before committing to repair work.